Jupyter Notebook
The Jupyter Notebook is an open-source web application that allows you to create and share documents that contain live code, equations, visualisations and narrative text. Uses include: data cleaning and transformation, numerical simulation, statistical modeling, data visualisation, machine learning, and much more.
Accessing through Login-Web
All the desktop apps can be found within the Interactive Apps dropdown in the Login-Web web portal. After selecting Jupyter, you will arrive at this page:
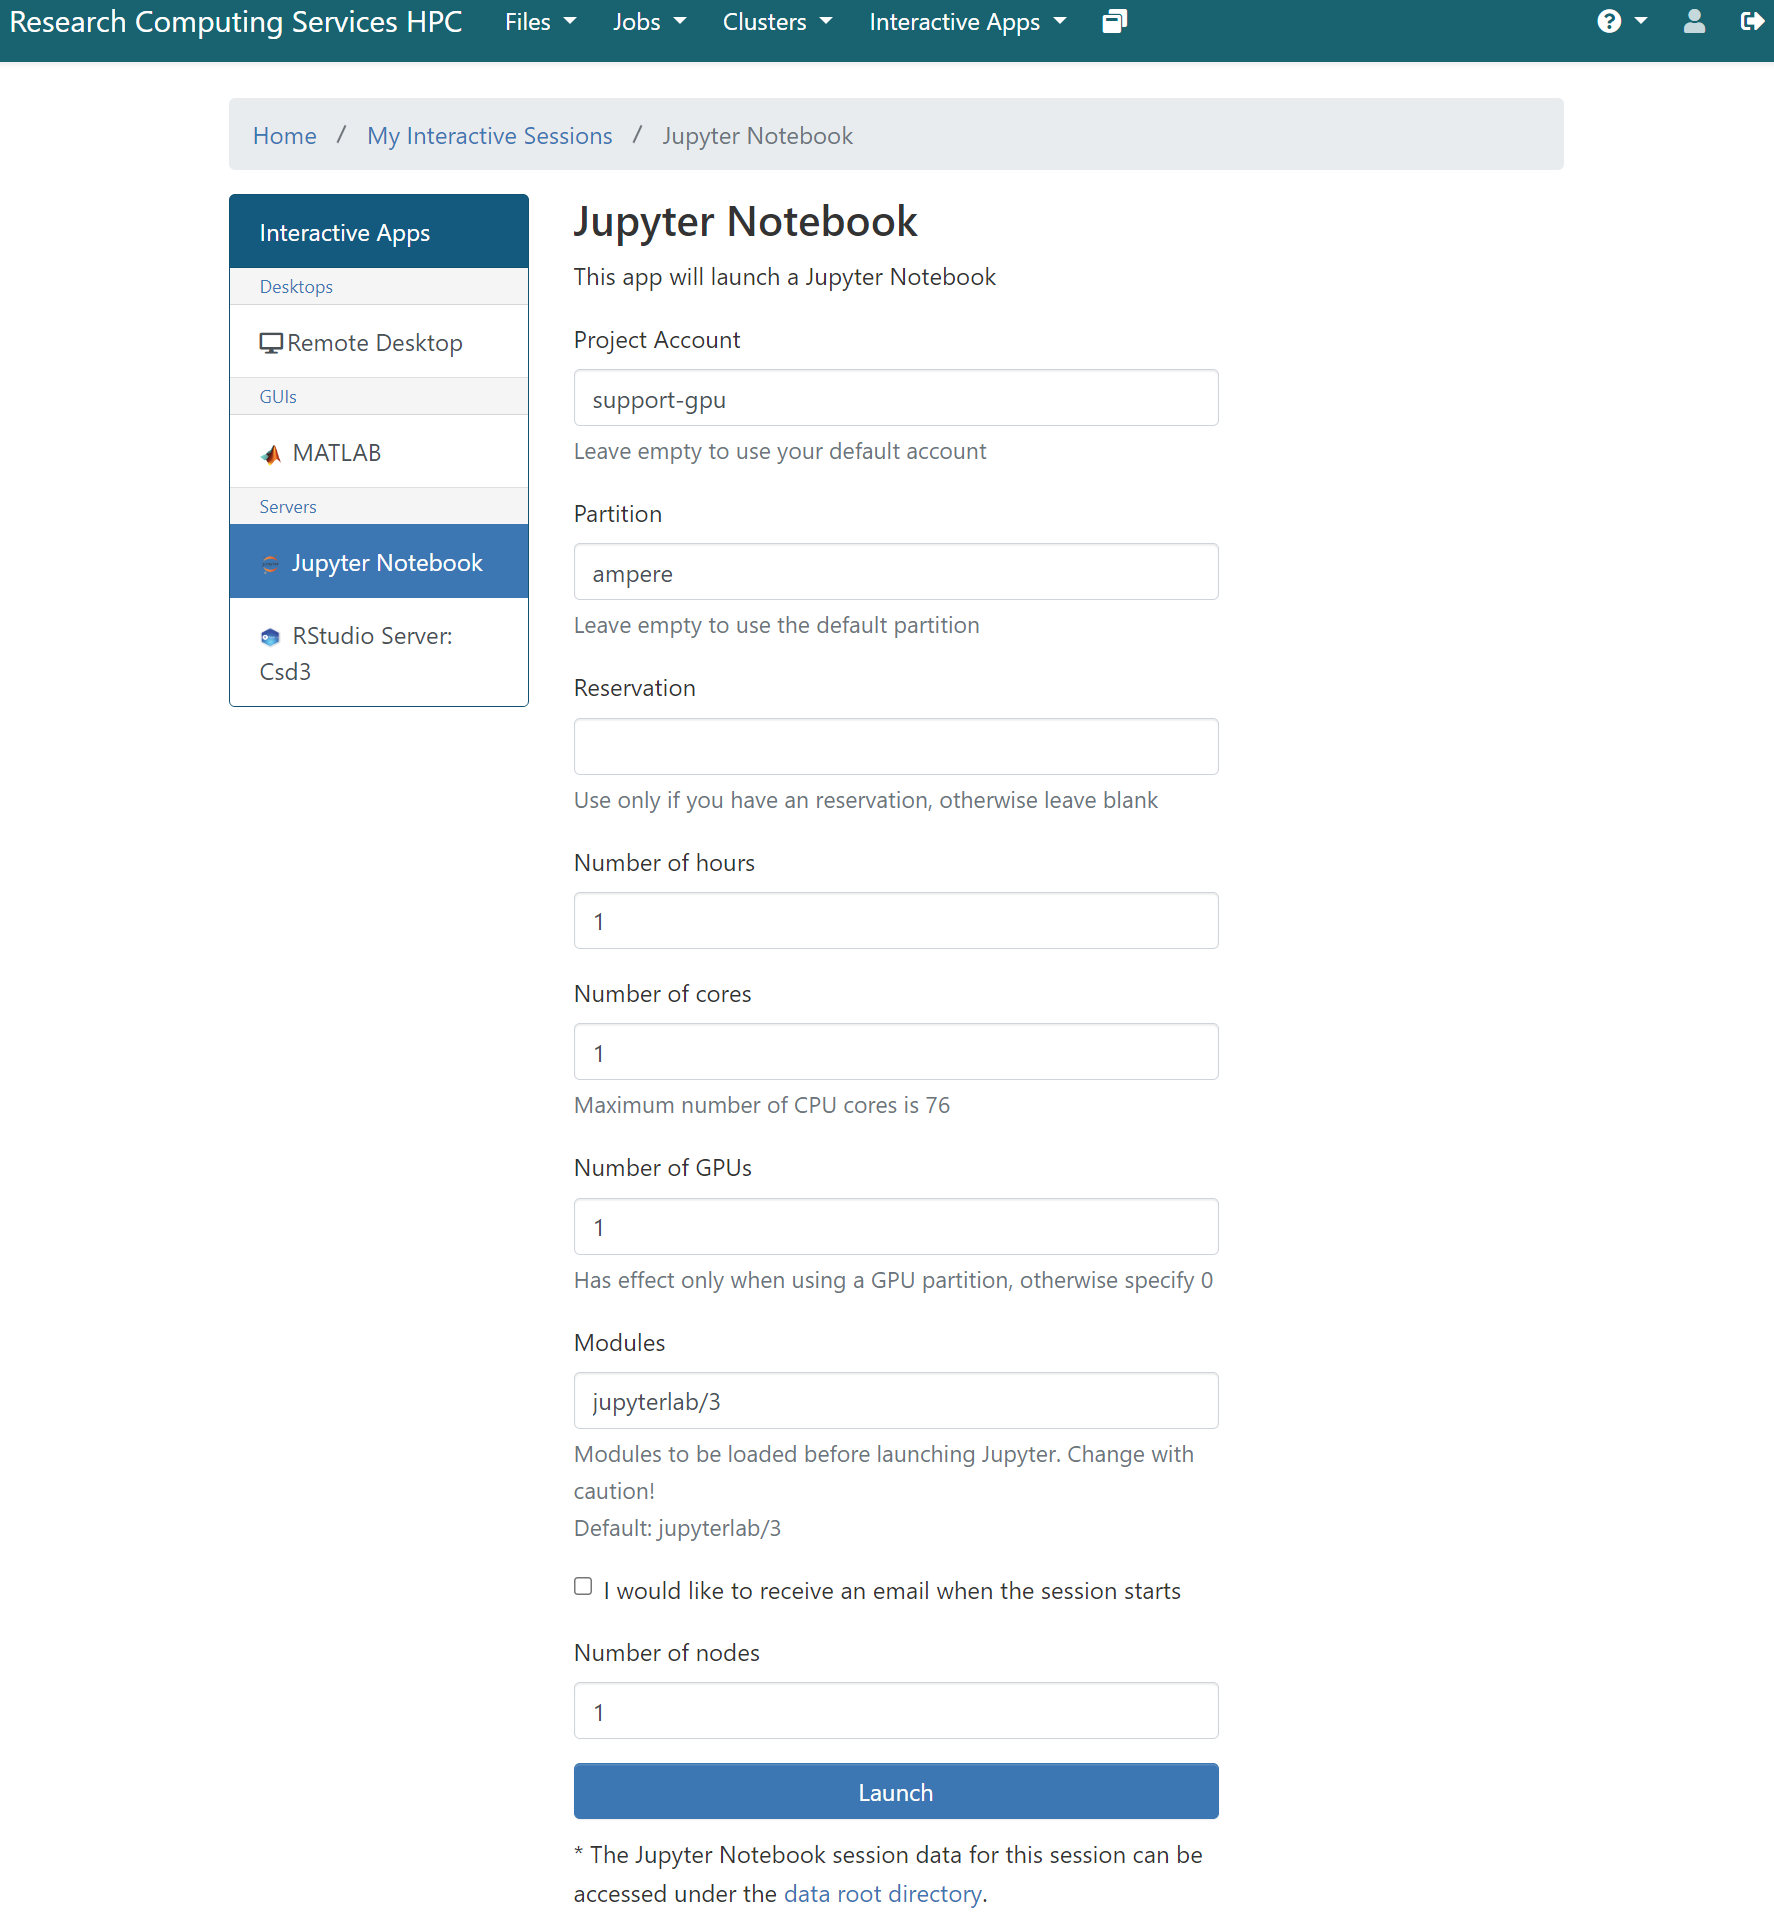
Here you can select the resources you would like your Jupyter session to have using the menu on the right hand side of the page. After you click Launch, a new session will be queued. Once the session is active your page will look like the image below:
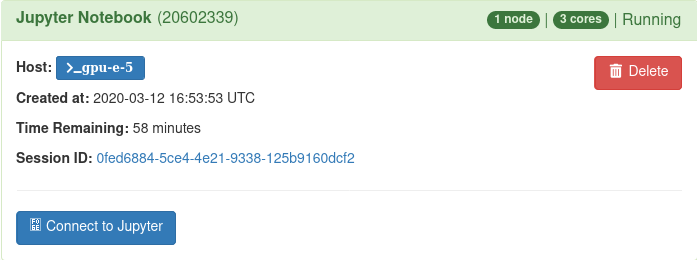
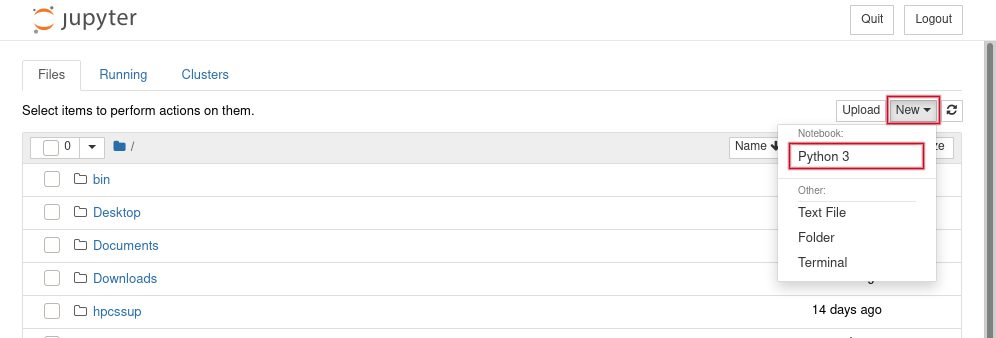
You can choose Connect to Jupyter to start your session and create a New Python 3 notebook.
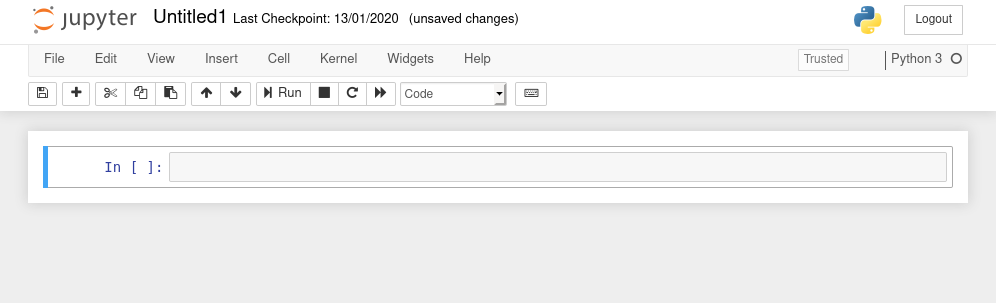
This is a new notebook with a familiar interface:
Adding virtual environments
To use your own virtual environments in the Jupyter Notebook app, you need to add them externally. Use the following steps to do so:
Use the
Remote Desktopapplication to log to your CSD3 account, then start aTerminal.If needed, create a new virtual environment using the commands described in the section Setup Jupyter on CSD3
Activate the virtual environment (otherwise, your installed packages won’t be registered)
Deploy the python module ipykernel with the command line:
pip install ipykernel
Add your virtual environment to the Jupyter Notebook as new kernel, with the command line:
ipython kernel install --user --name=<virtual environment name>
Logout.
Start or refresh your jupyter notebook session, as described in the previous section Accessing through Login-Web
Start a new logbook by clicking on the button “New” on the right-hand side:
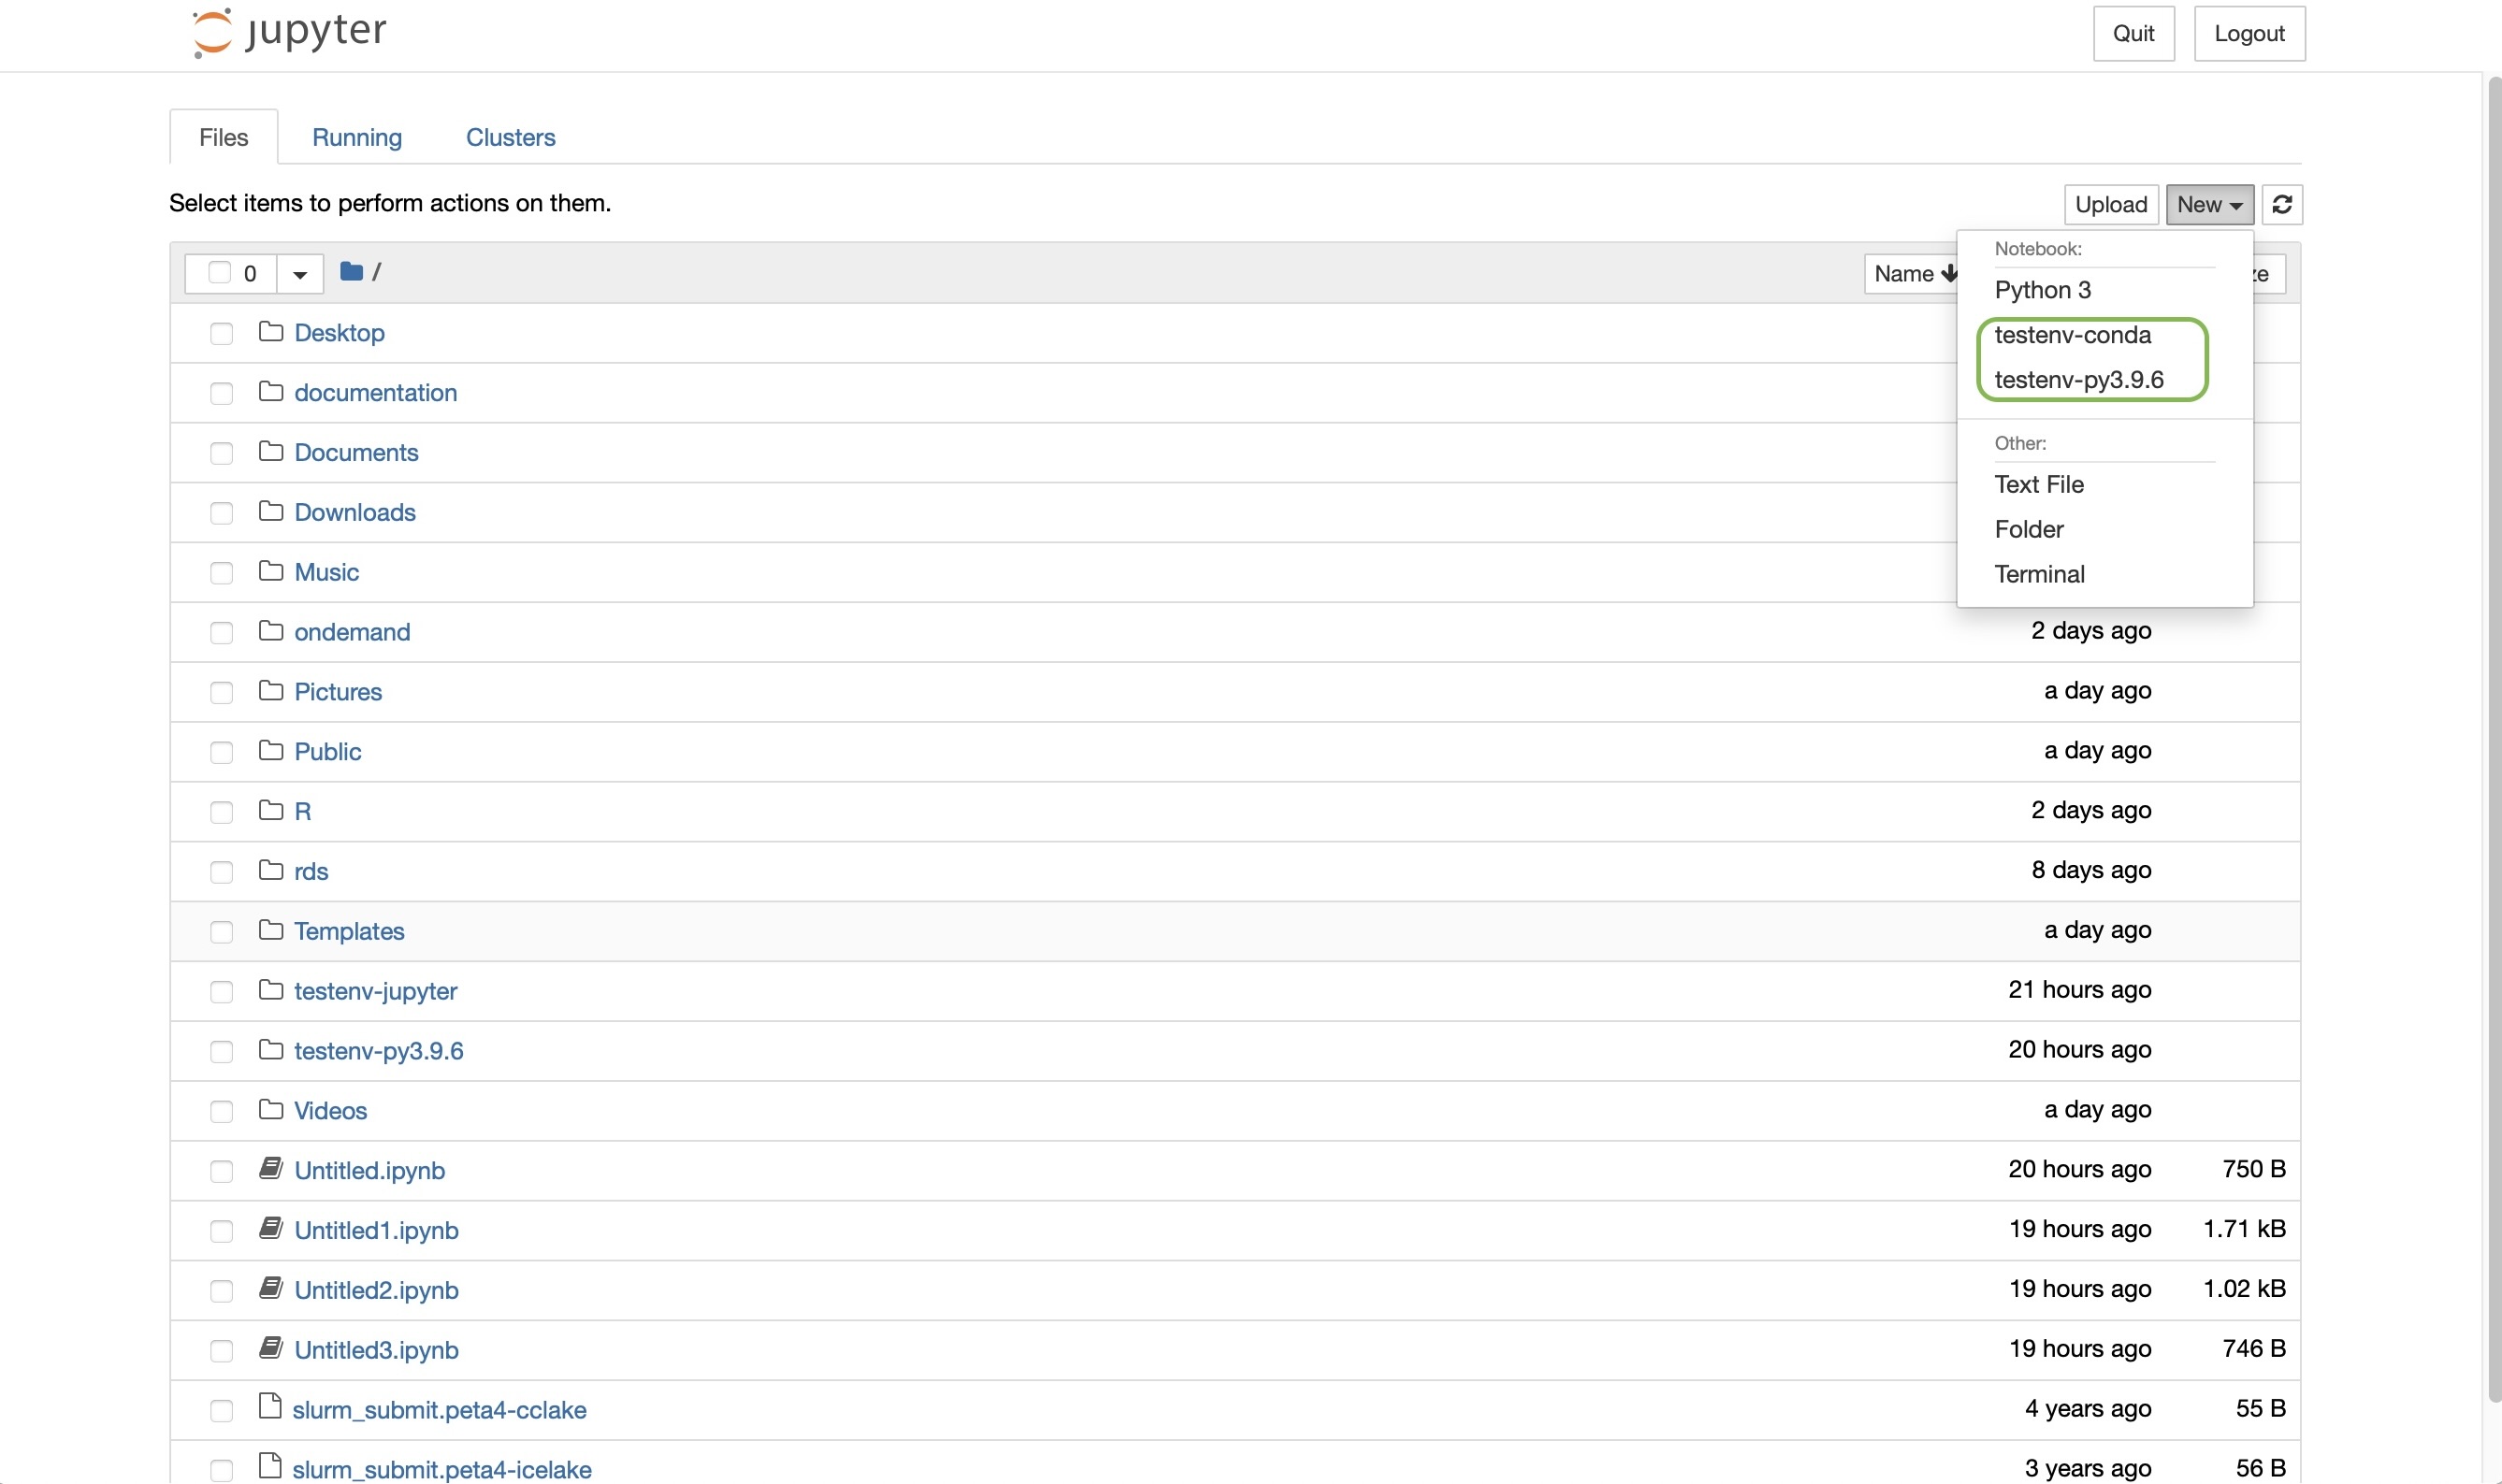
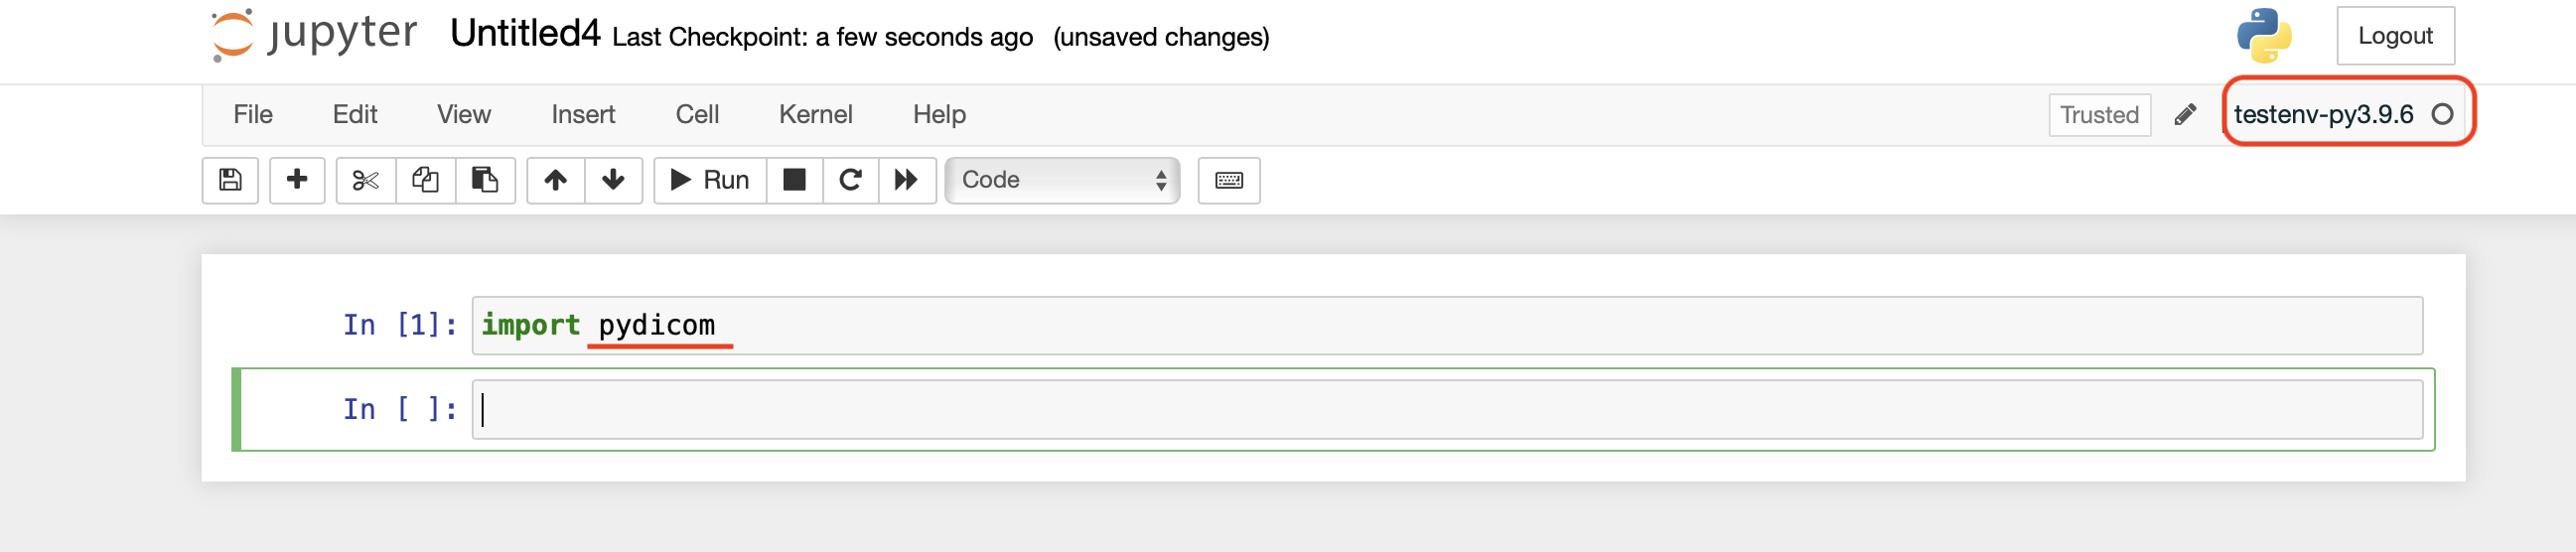
Your virtual environment should be listed under the selected Python3 as shown in the above illustration. Selecting the virtual environment as kernel will give you access to the python packages you have installed in the virtual environment.
Delisting virtual environments
To remove unwanted kernels from the Jupyter notebook:
Use the
Remote Desktopapplication to log to your CSD3 account, then start aTerminal.At the prompt:
module load jupyterlab/3
jupyter kernelspec list
The last command should give you the same list of kernels as the jupyter notebook app. Select the kernel to be deleted, then type:
jupyter kernelspec uninstall <myenv>