Windows 10
RFS is mounted like a normal Windows network drive. The name (UNC path) of the network drive is:
\\blue.cam.ac.uk\RFS\rfs-project_name-project_id
where project_name will be given to you when your RFS share is created, or viewable in the self-service gateway and the project_id is a unique string that identifies your project, even if you change the name of it later on. E.g. rfs-myproject-abCDE12fgH.
(Projects created before July 2022 will have a name in the old format rfs-dataowner_crsid-project_name e.g. rfs-mjr208-myproject).
You can also connect to the top level share:
\\blue.cam.ac.uk\RFS
which will allow you to browse through your available RFS shares.
Note
A physical connection to the Cambridge Data Network (CUDN) or an active VPN connection is needed to access RFS projects. See the UIS page on setting up a VPN connection for more details.
Steps to mount a Network Drive on Windows 10
Below is a demonstration video on how to access the RFS service from Windows 10.
The following steps are a breakdown of the connection process illustrated in the video.
Right click This PC in an Explorer Window and then click Map network drive
Warning
Some versions of Windows 10 may say Add Network Location instead of Map Network Drive”
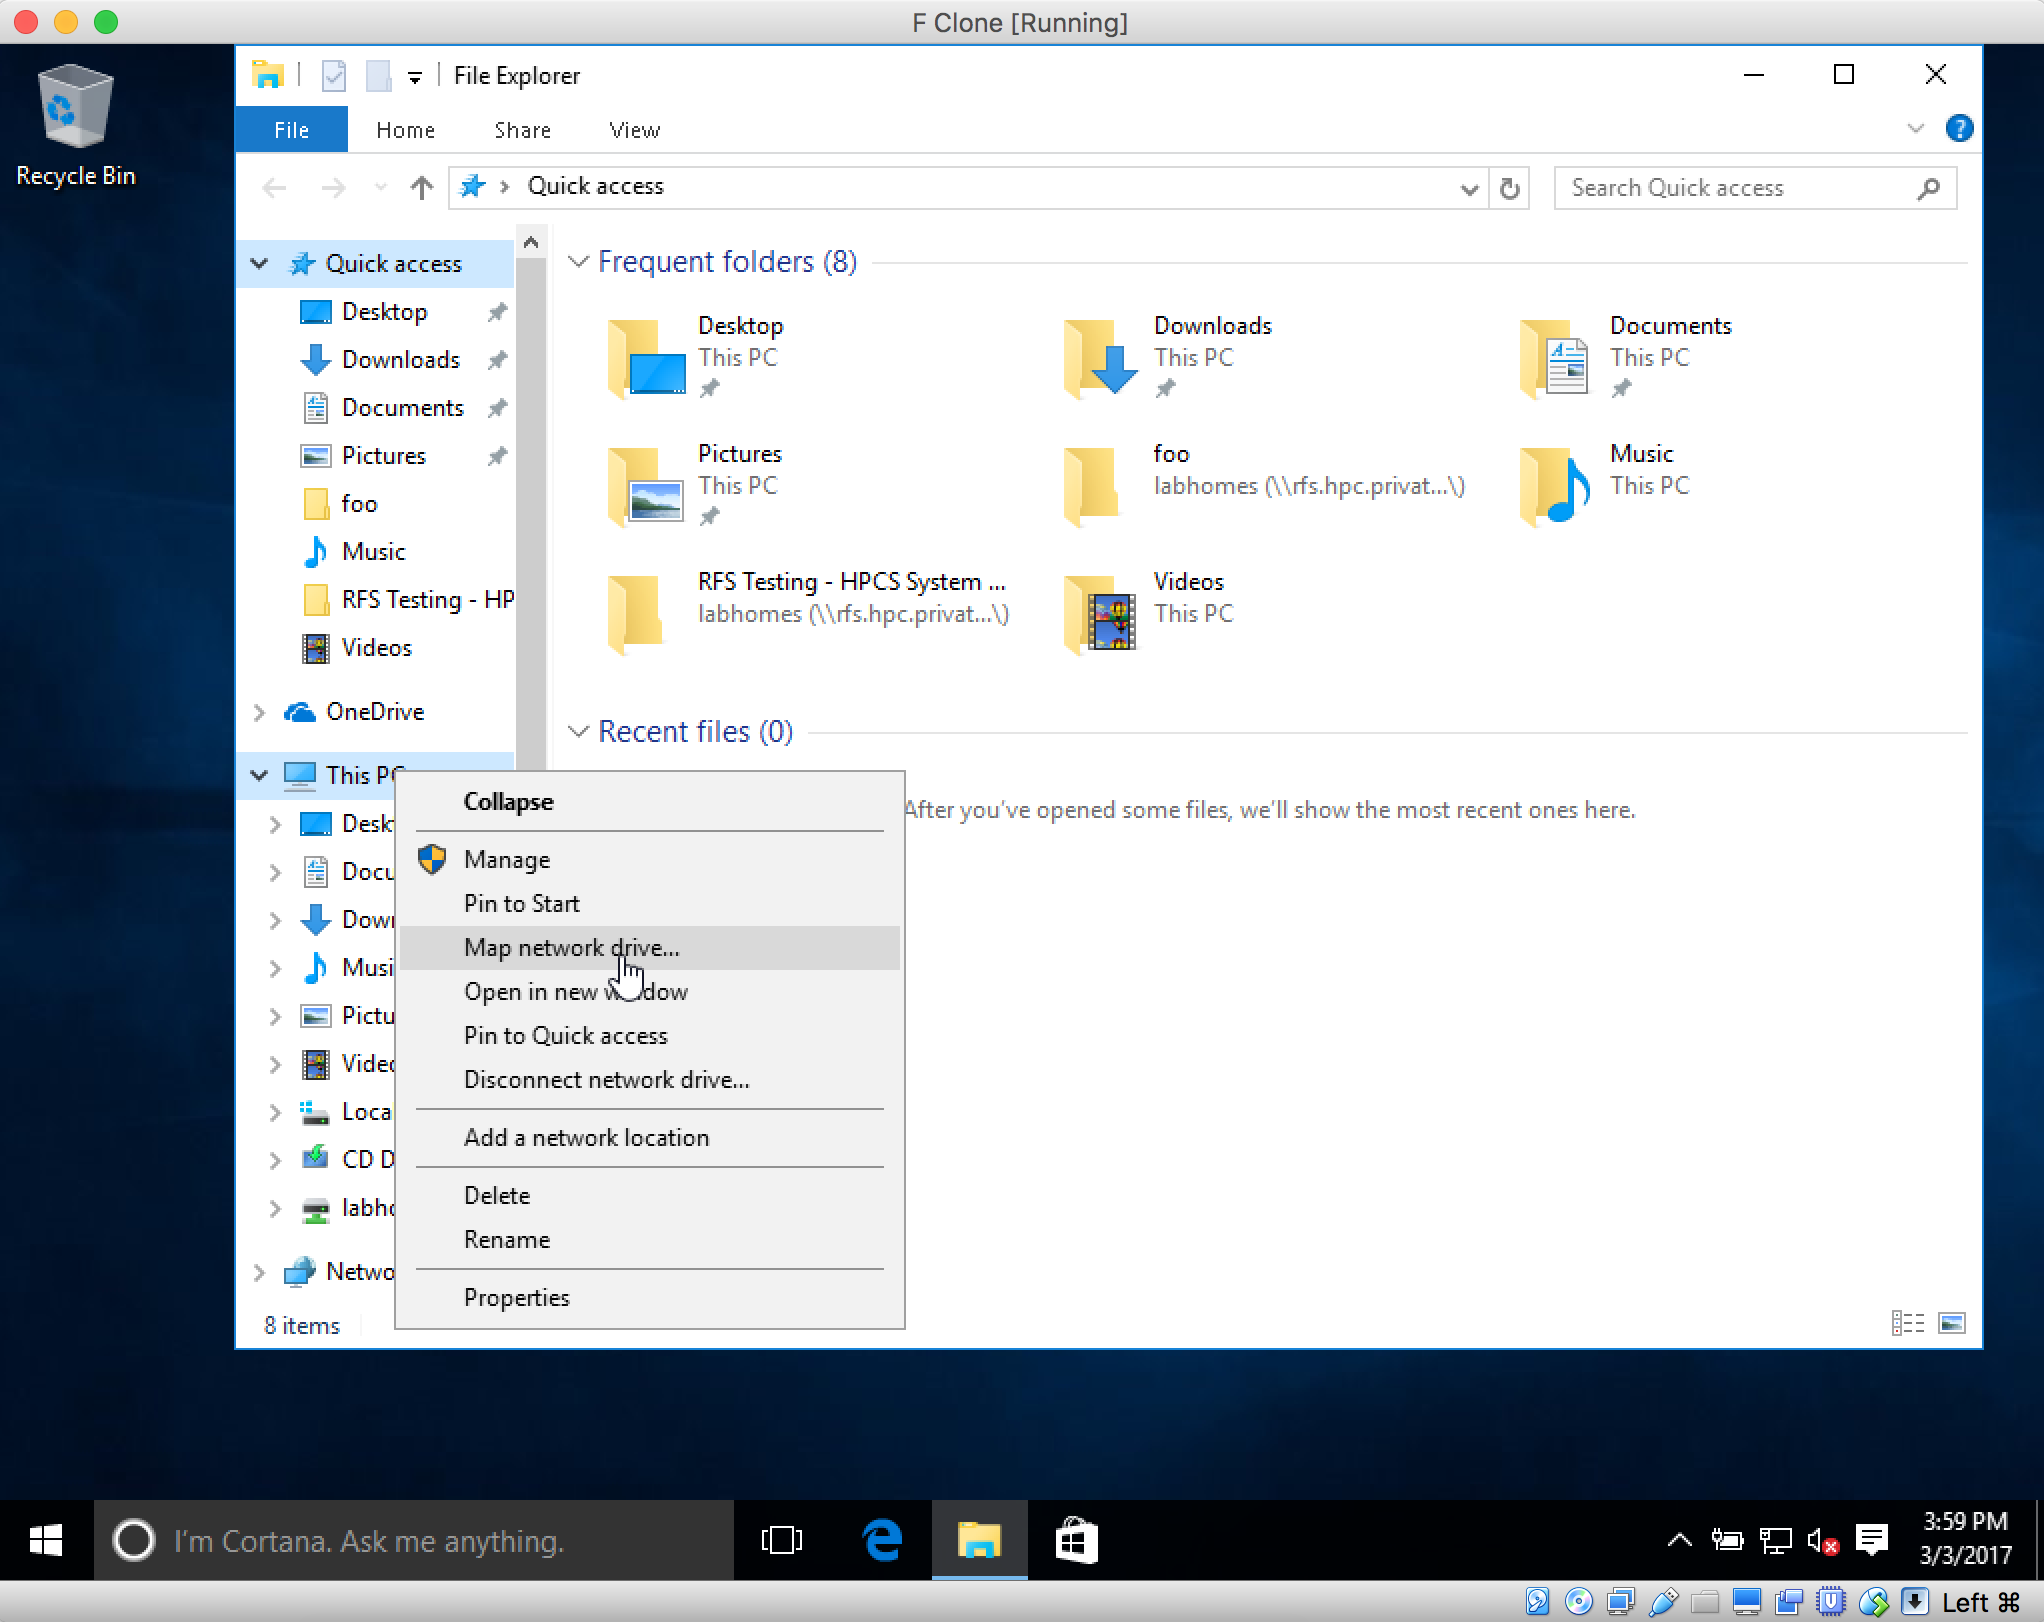
Menu after right clicking This PC
The Map Network Drive window will pop up. Select a letter for your drive to use and fill in the path to the network share:
\\blue.cam.ac.uk\RFS\project_name-project_id
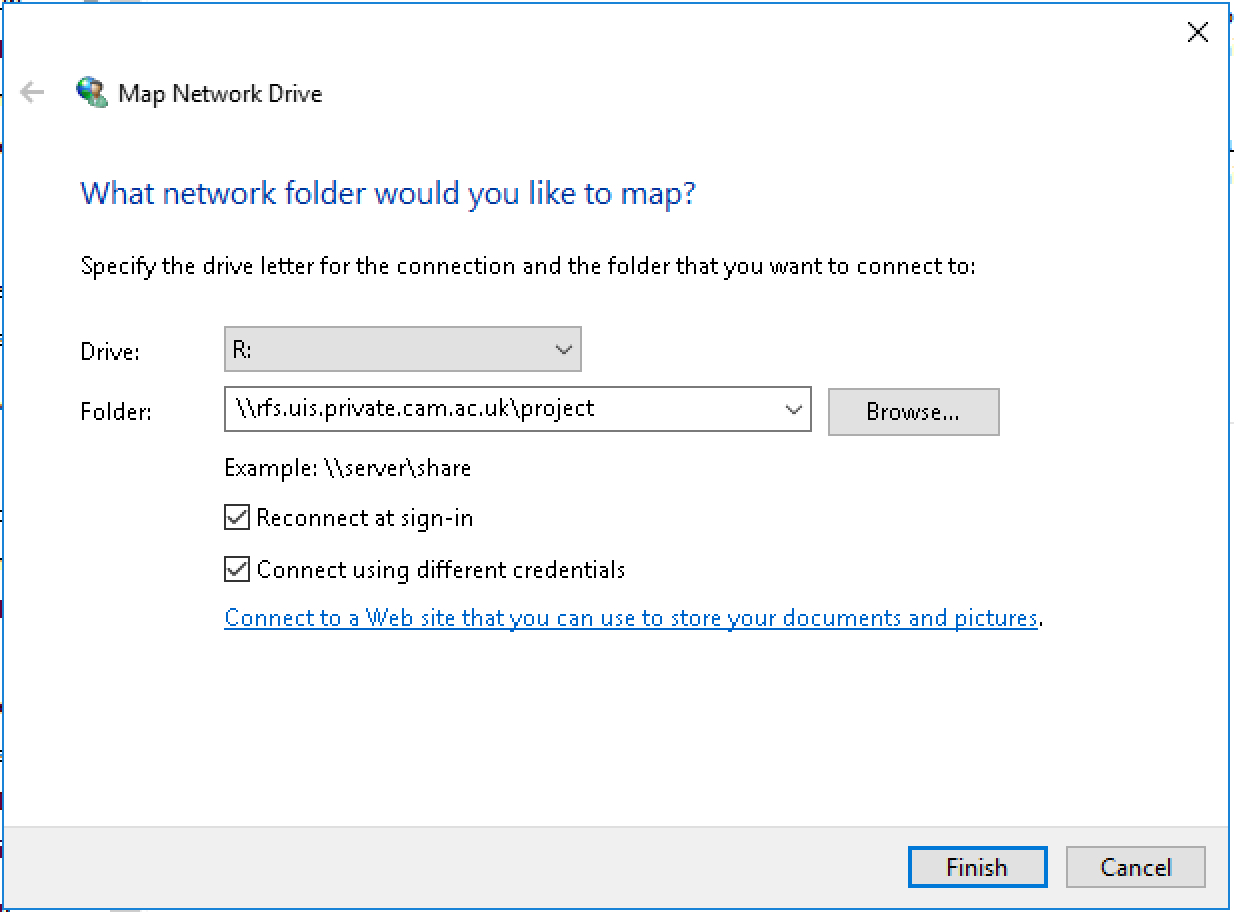
The Map Network wizard.
You will need to tick the box Connect using Different Credentials (unless you are using a machine bound to the UIS Active Directory domain BLUE), and specify your UIS username and password in the following way:
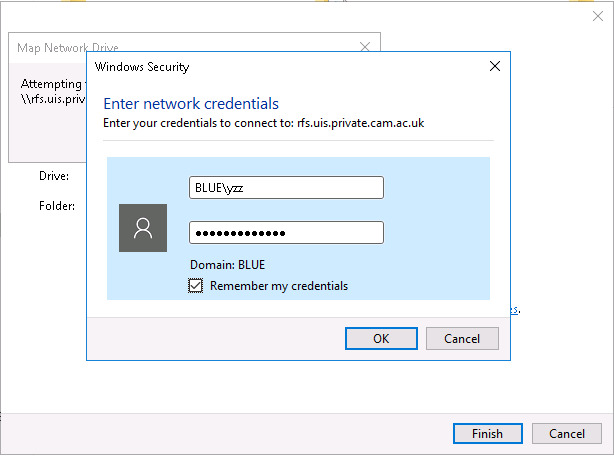
Saving your credentials for the mapped drive
The mapped drive will now appear in your explorer:
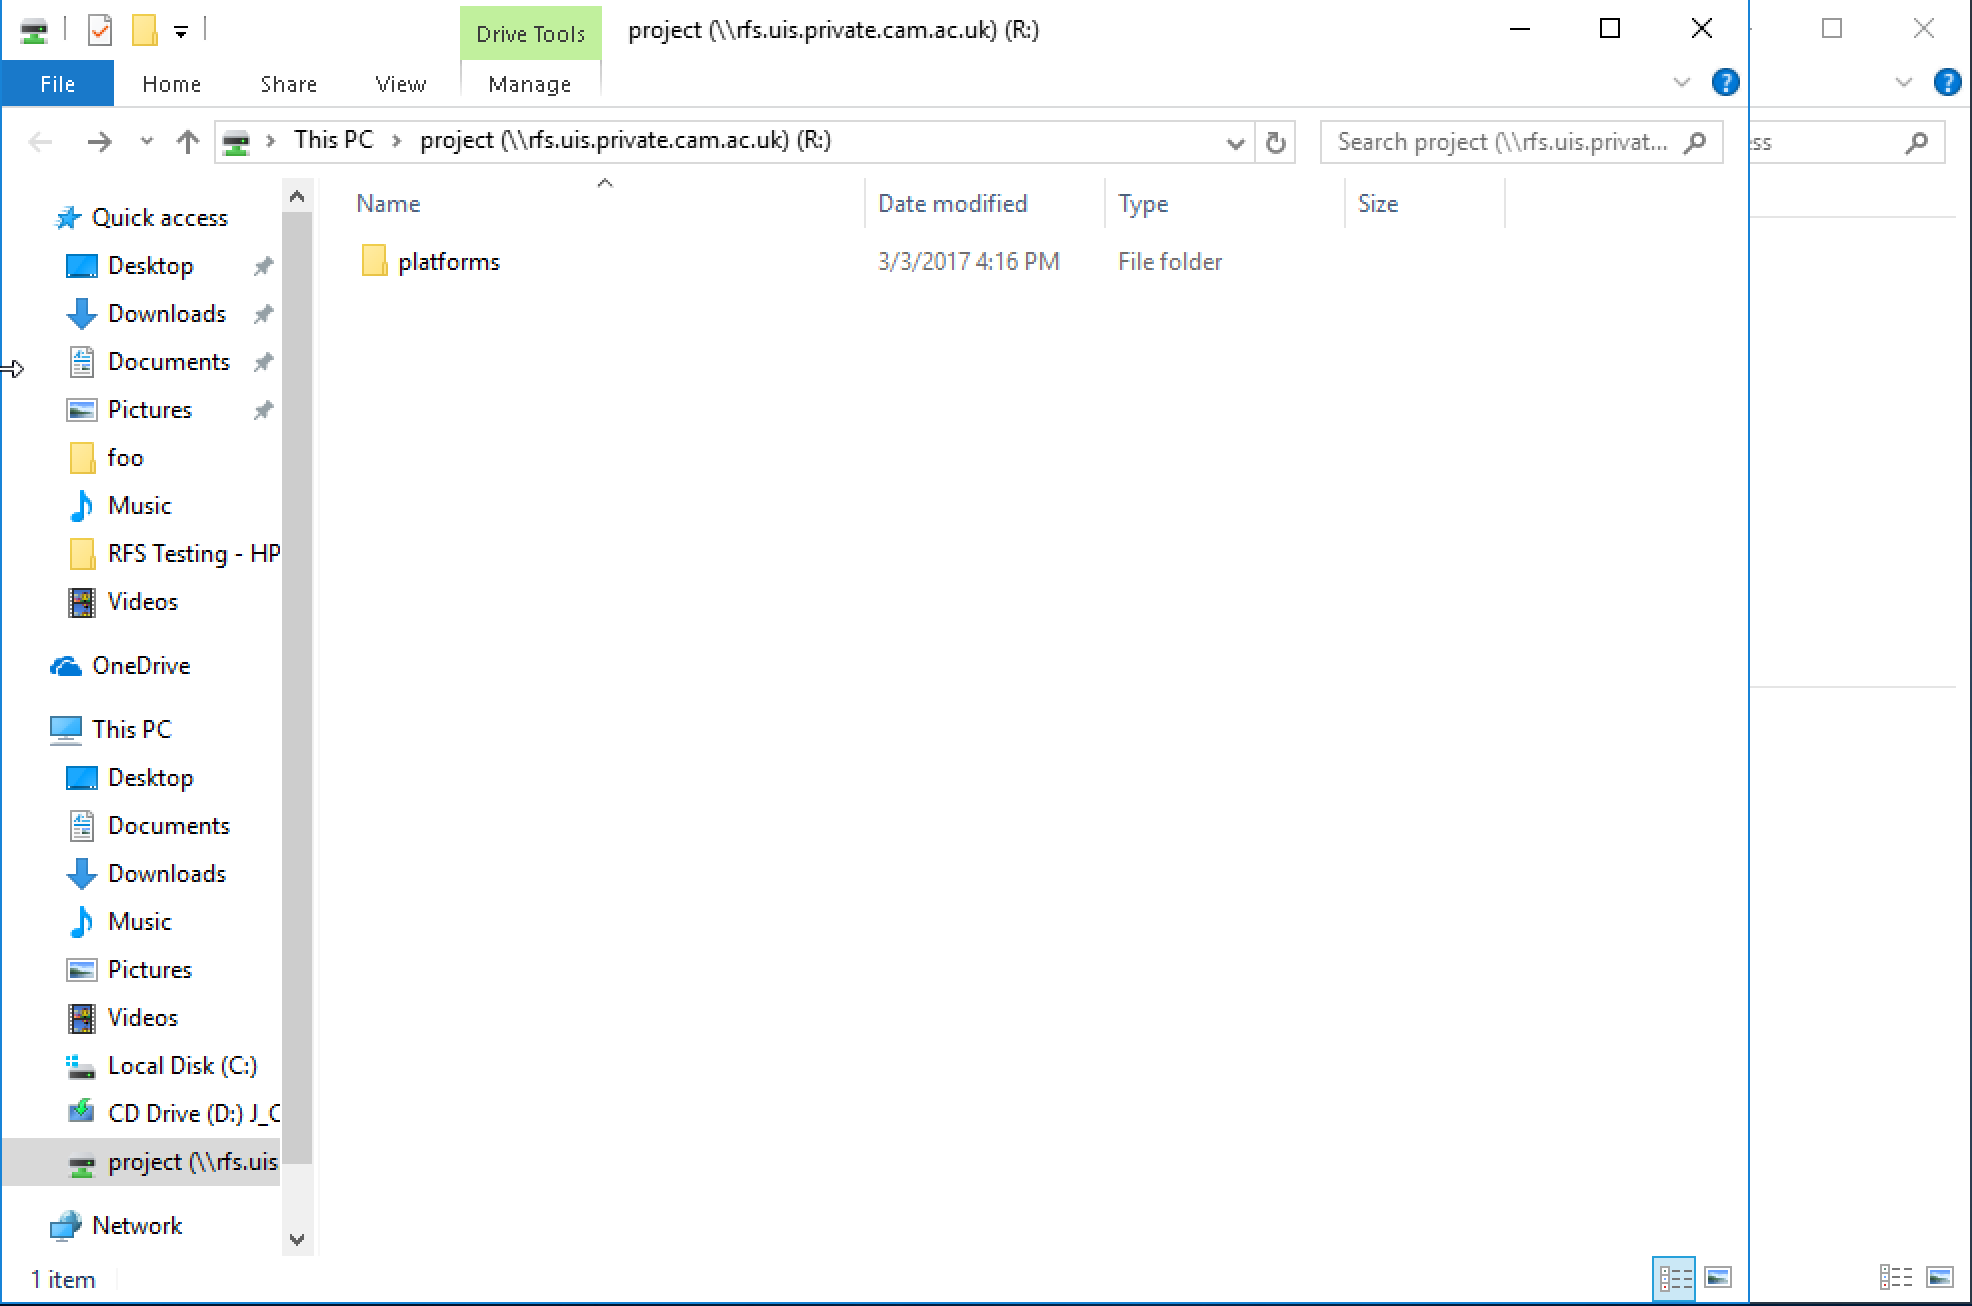
Windows Explorer with a mapped drive