MacOS
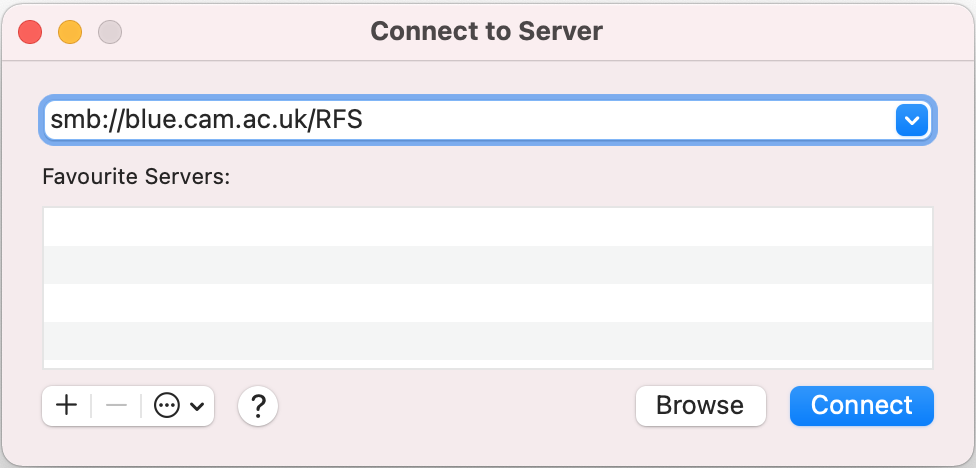
With a Finder window highlighted, go to the top menubar and click ‘Go’ and then ‘Connect to Server…’ (alternatively you can just press ‘CMD+k’ on your keyboard). In the pop-up window input the URL like the following, replaceing ‘{CRSid}’ with your own CRSid, and replace ‘project’ with your RFS project name.:

connecting with MacOS
Note
A physical connection to the Cambridge Data Network (CUDN) or an active VPN connection is needed to access RFS projects. See the UIS page on setting up a VPN connection for more details.
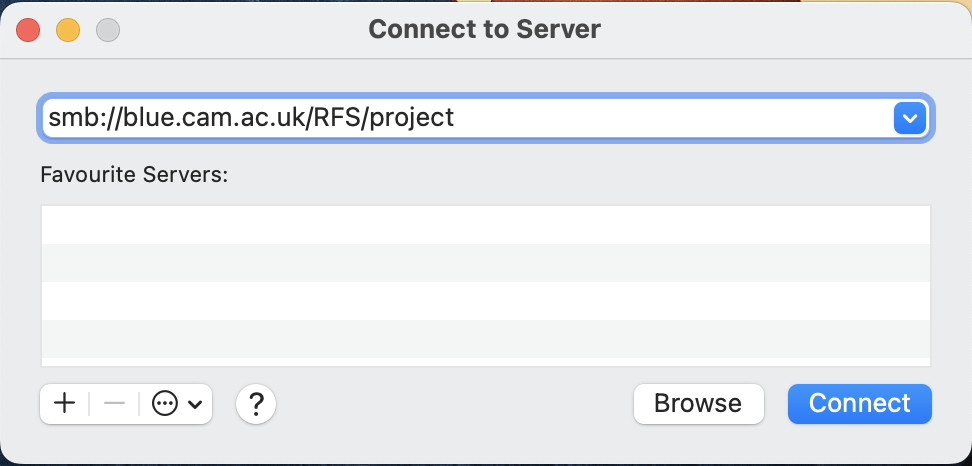
Once the drive is mounted using this new path the user will see a list of all the projects they have access to. Alternatively, if you know the name of the project use the direct path to the project as shown below replacing ‘project’ with your RFS project name.:

connecting to project specific path with MacOS
Note
Using the smb://blue.cam.ac.uk/RFS URL will only show a list of the projects your user has access to.
You will need to select the appropriate one to work with from the list.
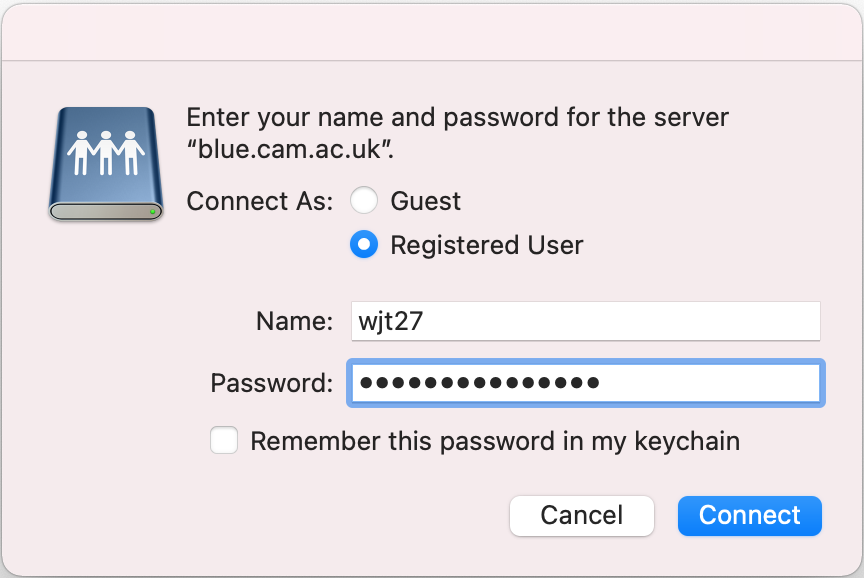
In the new pop-up window select Connect As: Registered user and specify your UIS username and password in the following way:

saving your credentials for the new drive in MacOS
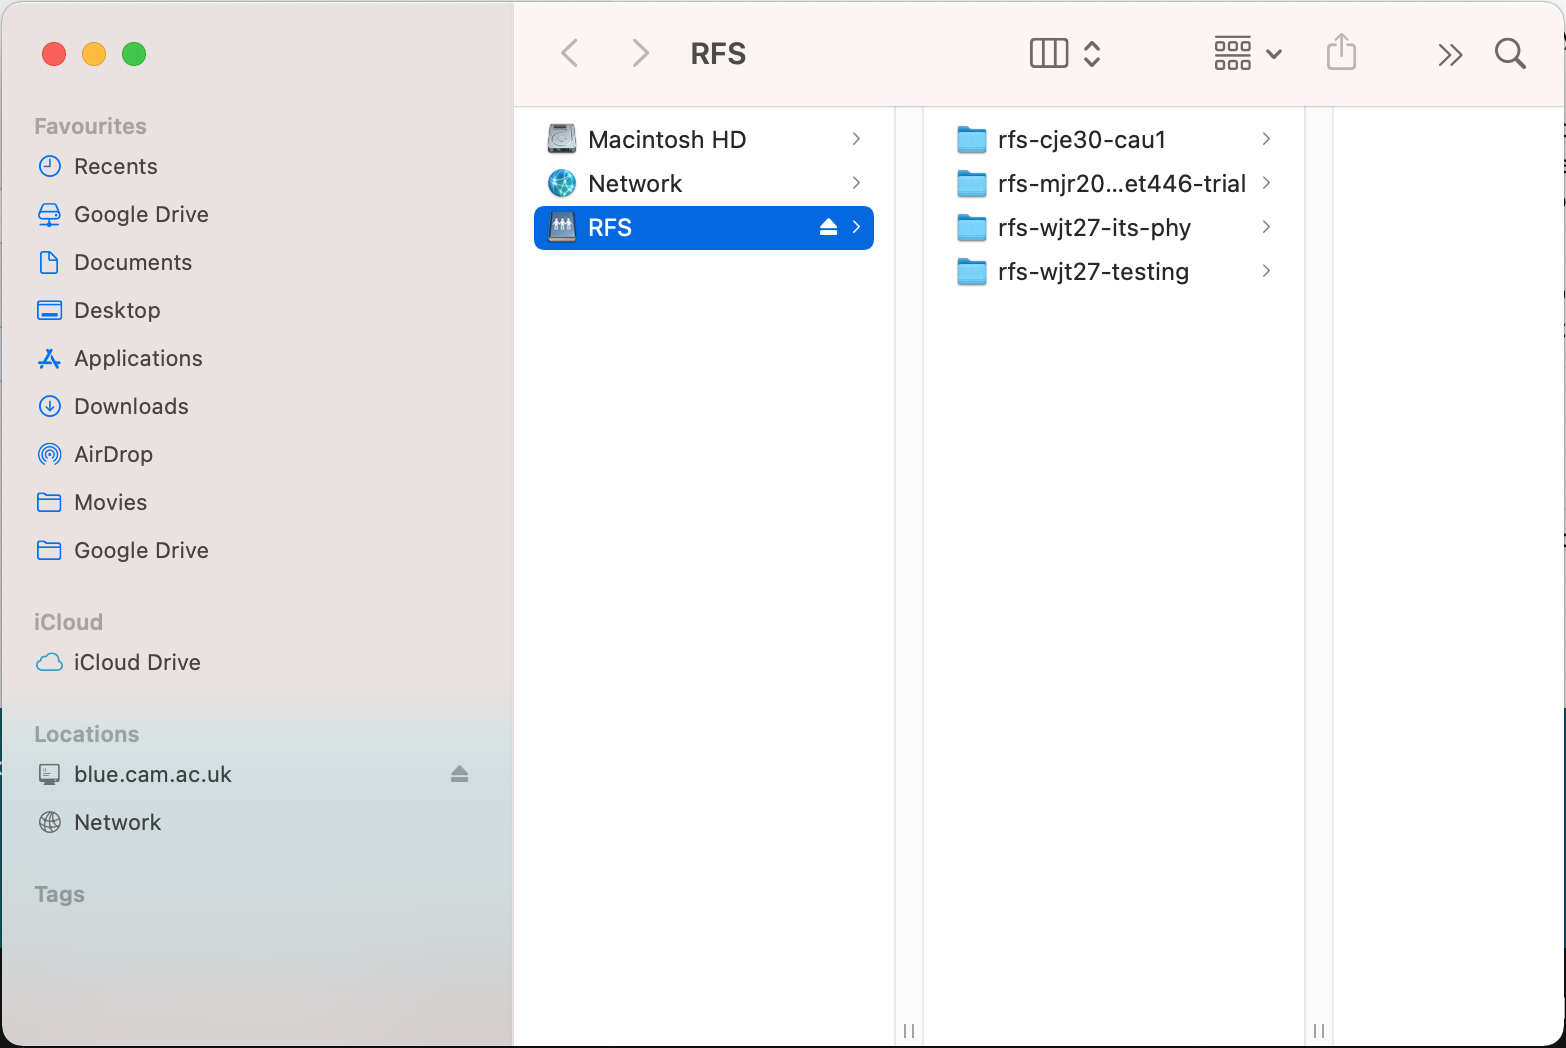
Finally click Connect and the mapped drive will then appear in Finder:

Finder with the new drive
Note
Performance issues - If users experience slow response times when mounting RFS projects, this may be due to MacOS Finder attempting to scan the project in the background to build/update it’s local database of files. This is a common issue reported by Mac users that use network shares such as RFS, for very large projects you may wish to disable this scan to see if it improves performance.
Apple themselves have a page relating to this at https://support.apple.com/en-gb/HT208209 and for reference they suggest these commands to enable/disable scanning;
To disable scan In the Terminal, enter: defaults write com.apple.desktopservices DSDontWriteNetworkStores -bool TRUE and log out and back in again.
To enable again In the Terminal, enter: defaults write com.apple.desktopservices DSDontWriteNetworkStores -bool FALSE and log out and back in again.