Best Practice
Data written to RDV is cached on fast storage before being written to tape. Policies govern when data is sent from the cache to the tape library, typically this will be when storage thresholds are reached. Data is written to both libraries before being removed from the cache.

Data is sent to a cache before being written to tape.
Writing Data to RDV
Compressing Data
When writing data to tape it is always better to have fewer larger files instead of more smaller files. This can be accomplished by compressing your (archived) data before uploading it to RDV. The common ways to do this are using the zip and tar utilities.
Another reason for compressing data is to not fall afoul of the quota limit on the number of files.
Important
On RDV we are enforcing quota not just on space but also on the number of files per TB of data. This is to encourage more larger files being transfered to RDV. We strongly recommend archiving directories into tar or zip bundles when moving them to RDV. See example below.
For users with HPC accounts using tar and ssh: Archive large directories on your local computer with tar and move it to rdv, while splitting it into smaller parts.
tar -cvf - $HOME/directory/ | ssh login.hpc.cam.ac.uk 'cd /rdv/project/rdv-biobank-sampledata-LWK1fGimSv0/ && split -b 50G - files.tar.'
The split parts of a file can be joined together again with the “cat” command.
For any user Using SFTP to RDV gateway Archive large directory on your local computer with tar and move it to rdv.
outfile=backup_`date +%Y%m%d_%H%M%S`.tar
tar cvf $outfile $HOME/directory/ && echo "put $outfile" | sftp rdv.uis.cam.ac.uk:/rdv/project/wjt27/rdv-wjt27-test-project/
Copying and packing data from RDS to RDV using tar Archive folder on RDS to rdv. You need to be logged on to HPC login node.
source=$HOME/rds/rds-wjt27-test-project/software
outfile=/rdv/project/wjt27/rdv-wjt27-test-project/backup_`date +%Y%m%d_%H%M%S`.tar
tar cvf $outfile $source
You can list the content of your archive by running following command line:
tar tvf $outfile
Naming Conventions
Folders in RDV follow the naming convention rdv-<Project Name>-<Project ID>. Below this you are free to create your own folder structure and upload files. It is suggested that your file names for compressed data either describe the data held within or you keep a reference of which data is held in which archives. This could be stored in a text file in the same folder as the compressed data.
Recovering Data from RDV
When you attempt to download a file RDV pulls the file from the tapes and puts it back on the fast tier of storage. If the file is large then this can take a while, which may cause your FTP client to bring up a time out error message or disconnect from the session entirely.
There are two ways of dealing with this:
Try to pull the data from the store. This will trigger RDV to pull back the file from the tapes to the fast tier. Give it some time to complete then retry the job.
You may wish to alter your client’s default timeout settings. This varies from client to client but an example screenshot for FileZilla is below.
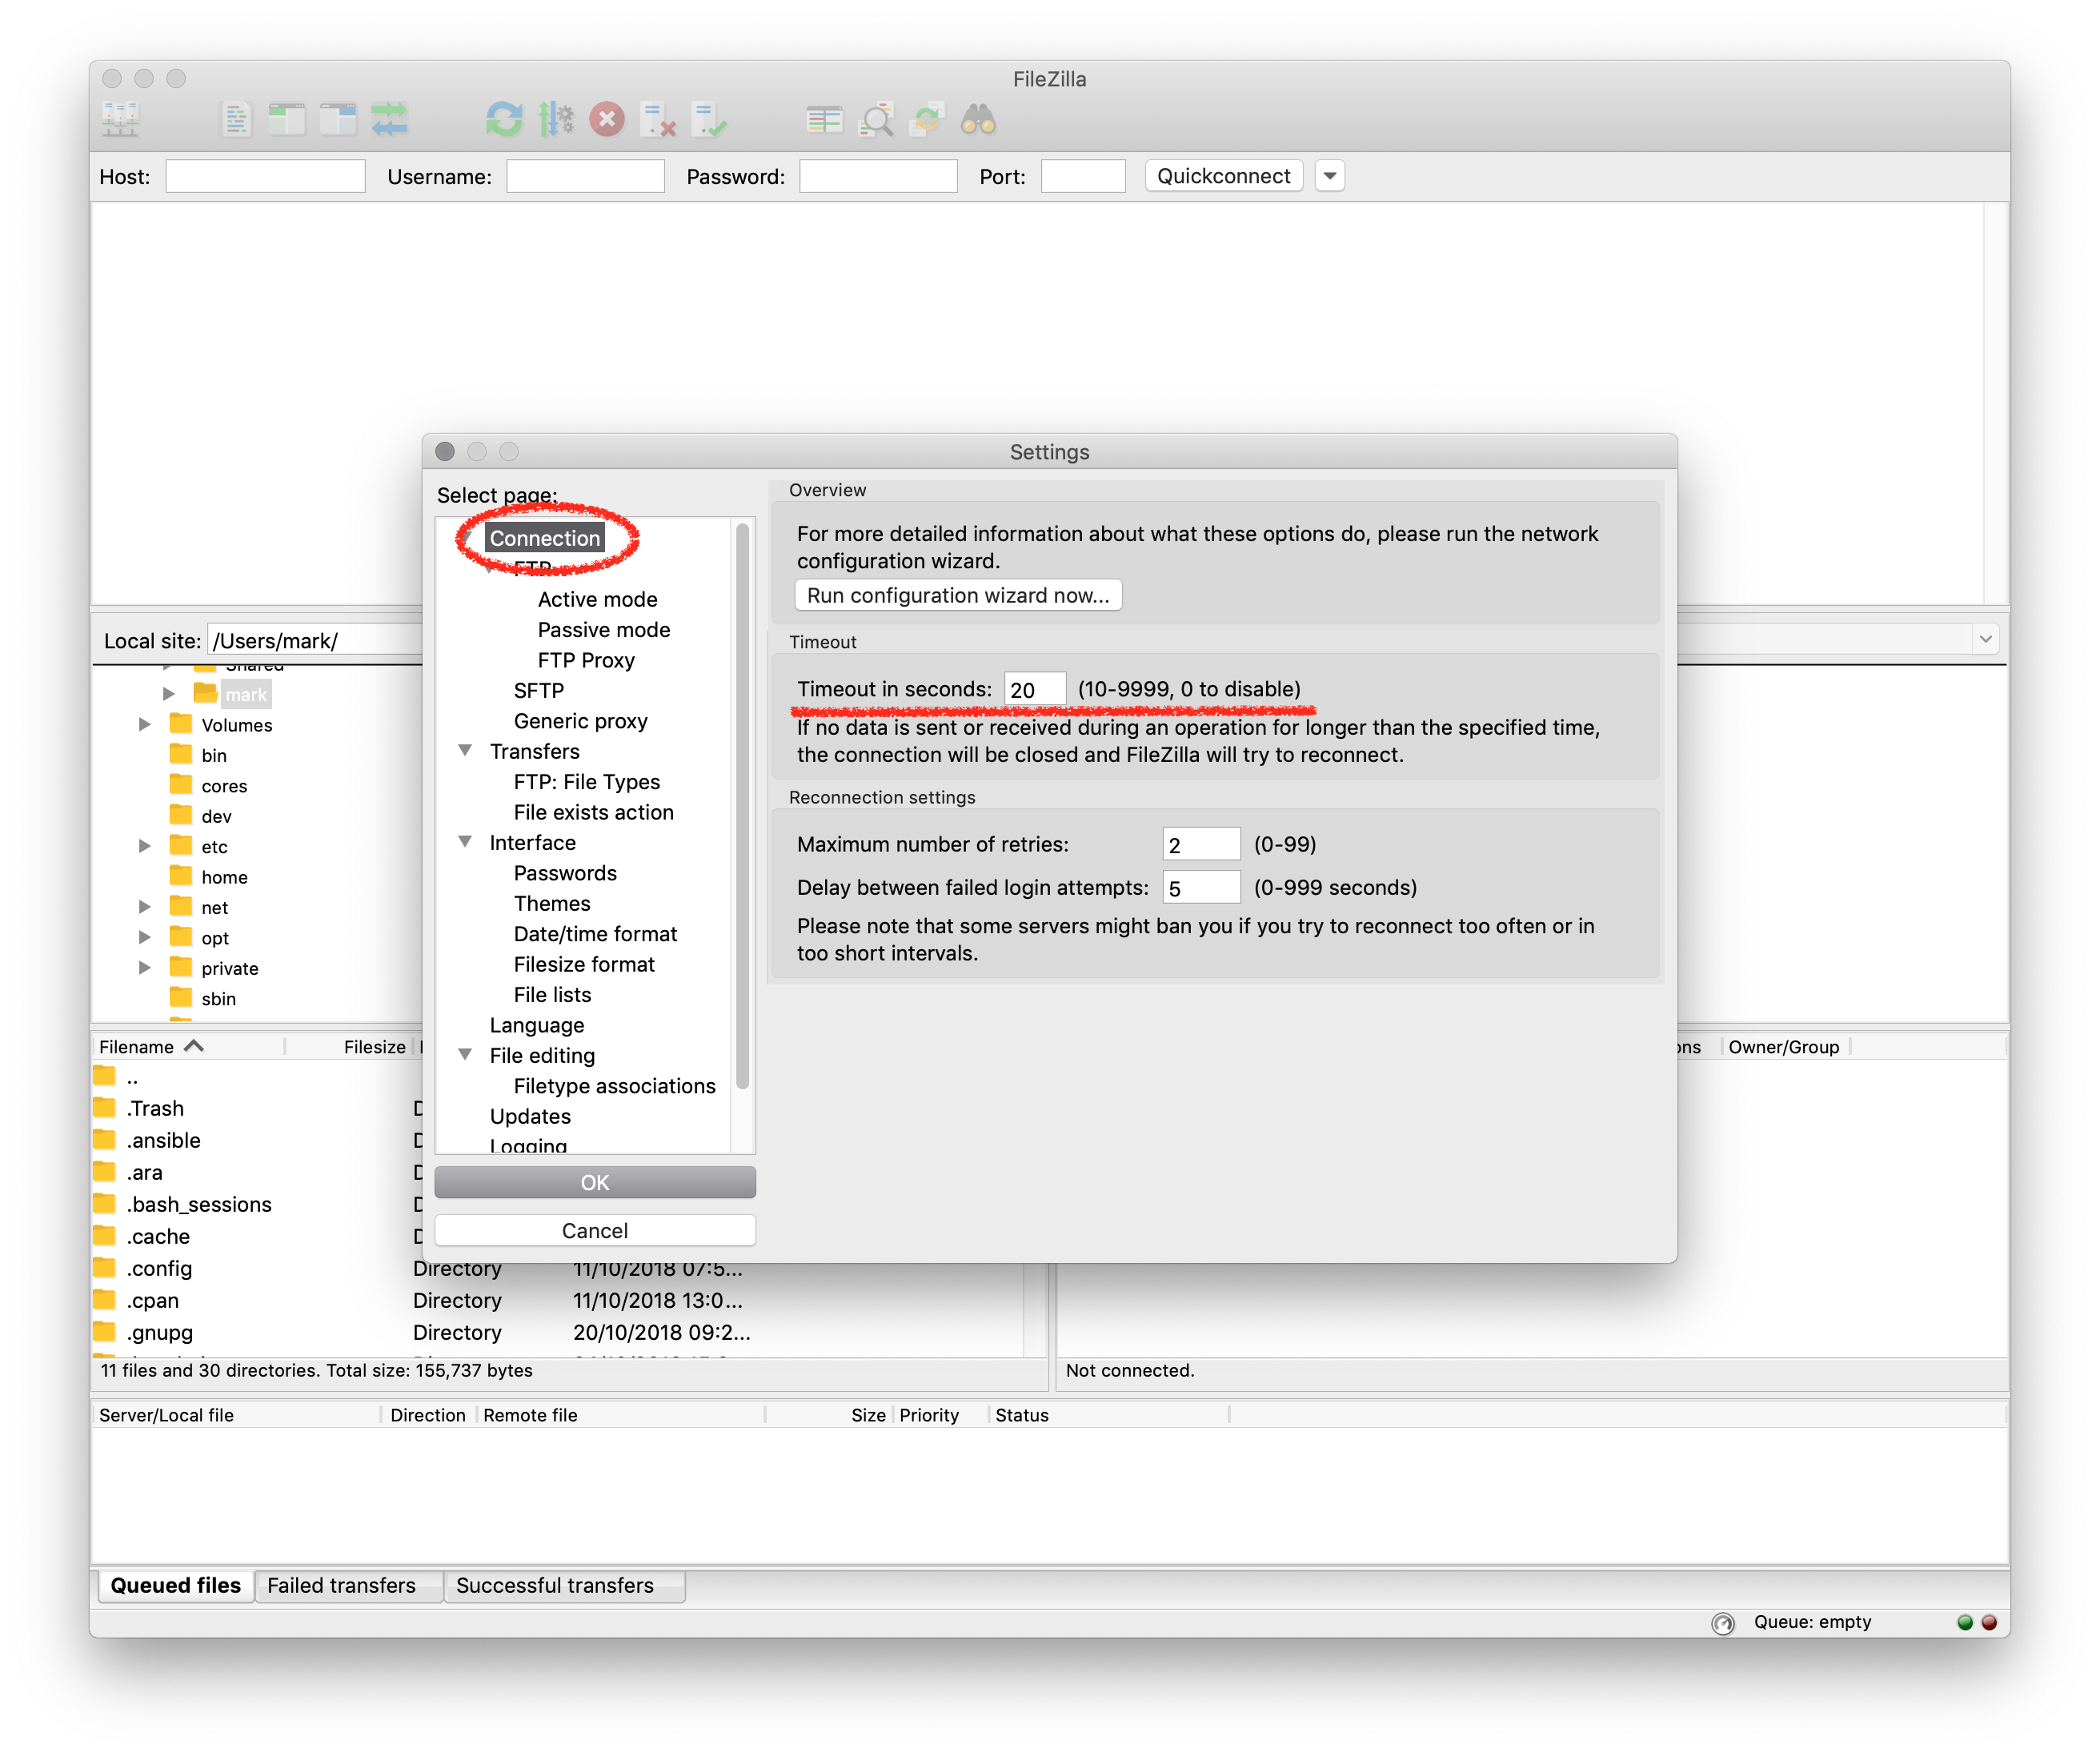
Filezilla’s Timeout settings. Try changing it to something higher.
From a login node, you can use the samnfs command, present in /usr/local/software/versity/, to be able to stage data on demand.
samnfs stage $myfile
Please bear in mind that there is only a limited amount of cache space, and excessive use of staging will degrade performance for all users.
Also, be aware that if someone else is writing a large amount of data at the same time as you are staging, you might not be able to successfully stage everything and will need to wait for files to be released before continuing.
You can force this on your own files with:
samnfs release $myfile
But please be mindful that this is very possible to delete your own data with and only to be used with data that you have staged back from tape.