1. Exploring the web interface
This part of the document will explain how to log in to our OpenStack infrastructure in a step by step guide. It is recommended that these steps are followed in the order in which they are listed within the document.
There are three ways of accessing OpenStack, the first is the graphical interface (Horizon Dashboard), second is the command line and the third is by using OpenStack API calls. This section will explain how to access the OpenStack infraestructure and perform simple actions in order to get familiar with this interface. Though you may find some technical details, it will not explain in-depth OpenStack internals, as this is a simple quick starter guide.
Review [1]_ for OpenStack technical information.
1.1. What is Horizon ?
Horizon is the canonical implementation of Openstack’s Dashboard, which provides a web based user interface to OpenStack services including Nova, Cinder, Neutron and other services.
Horizon ships with three central dashboards, a “User Dashboard”, a “System Dashboard”, and a “Settings” dashboard. Between these three they cover the core OpenStack applications. Please see Introducing Horizon [2]_ for a thorough look at what Horizon is and what the aims of the project are.
1.2. Log in to the dashboard
As a cloud end user, you can use the OpenStack dashboard to provision your own resources within the limits set by administrators to deploy virtual infrsastructure. The Login URL to access the dashboard follows:
https://vss.cloud.private.cam.ac.uk
A login user will be required to access the DashBoard, which can be obtained after the account approval process is completed.
Note
Procedure to get an account here
1.2.1. Main options
This section is a walkthrough to show the main options available.
- Open a web browser that has JavaScript and cookies enabled.
- On the Login page, enter your user name and password, your domain name, and click Sign In.
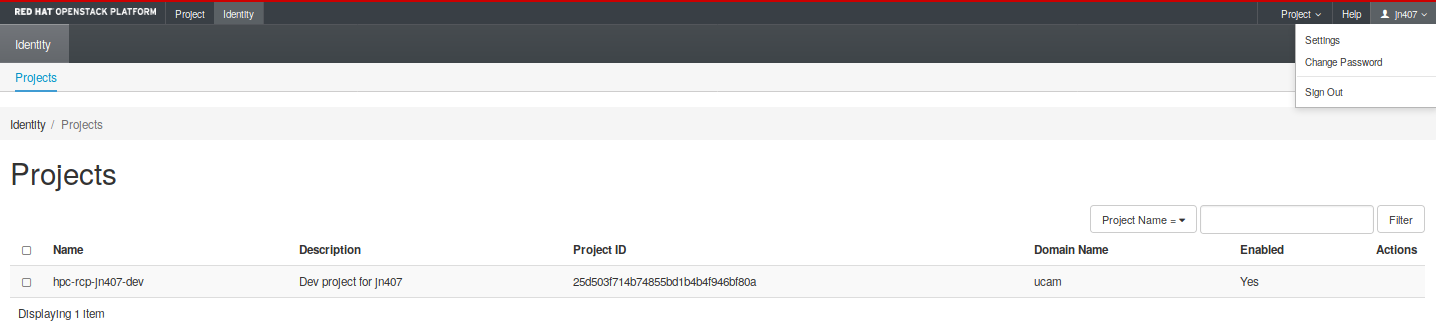
The top of the window displays your user name. You can also access the Settings tab, change the password or sign out of the dashboard. Review the oficial Dashboard User Documentation [3]_ more information.
The visible tabs and functions in the dashboard depend on the access permissions, or roles, of the user you are logged in as.
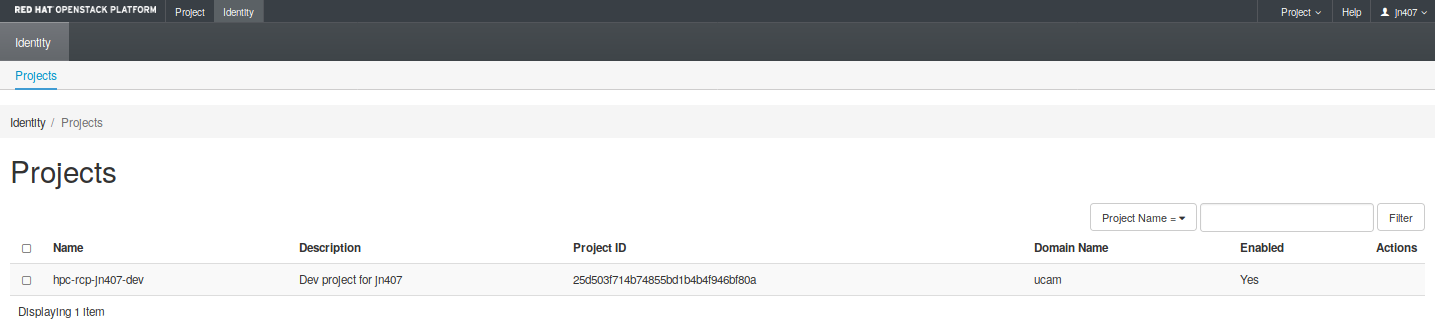
As an end user, you should be able to see these main tabs: * the Project tab * the Identity tab.
1.2.2. Project tab
Projects are organizational units in the cloud and are also known as tenants. Each user is a member of one or more projects. Within a project, a user creates and manages instances.
From the Project tab (Fig. 1.1), you can view and manage the resources in a selected project, including instances and images. You can select the project from the drop-down menu at the top left.
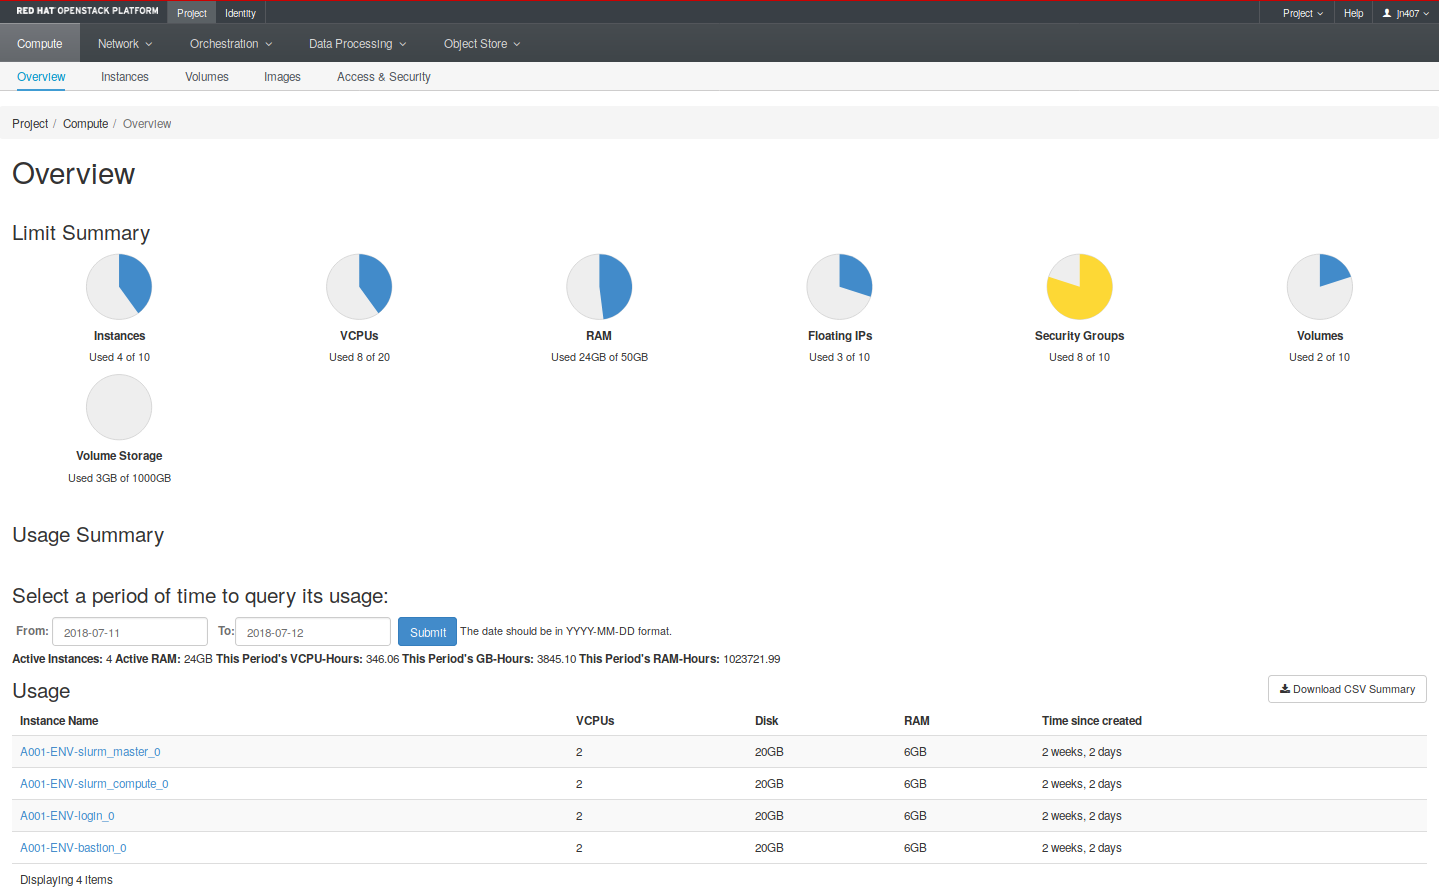
Fig. 1.1 Project tab
Compute
- Overview: View resource usage reports and quotas for the project.
- Instances: View, launch, create a snapshot from, stop, pause, or reboot instances, or connect to them through a noVNC console.
- Volumes: View, create, edit, and delete volumes and snapshots.
- Images: View images and instance snapshots created by project users, plus any images that are publicly available. Create, edit, and delete images, and launch instances from images and snapshots.
- Access & Security: Manage access and security elements:
- Security Groups: View, create, edit, and delete security groups and security group rules.
- Key Pairs: View, create, edit, import, and delete Key Pairs.
- Floating IPs: Allocate an IP address to or release it from a project.
- API Access: Show API access endpoints.
Network
- Network Topology: View the network topology as graphical plots.
- Networks: Create and manage project private networks.
- Routers: Create and manage routers connecting private networks to external networks.
Orchestration
- Stacks: Launch, Preview, Remove, and Update Heat templates
- Resource Types
- Template Versions
Object Store
- Containers: Create and manage containers and objects.
1.3. Getting started
These steps will help you become familiar with the OpenStack interface. You will learn how to log into the Horizon Dashboard with training credentials, create an SSH keypair and have an overview of all services, which will be used in following sections of this manual.
1.3.1. Log in to the Dashboard
The Login URL to access the dashboard follows:
https://vss.cloud.private.cam.ac.uk/
You should fill the fields specifying the Domain of your Project, username, and password (Fig. 1.4).
The default domain for most use cases will be simply “ucam”, and username and password will be the user UIS Password credentials.
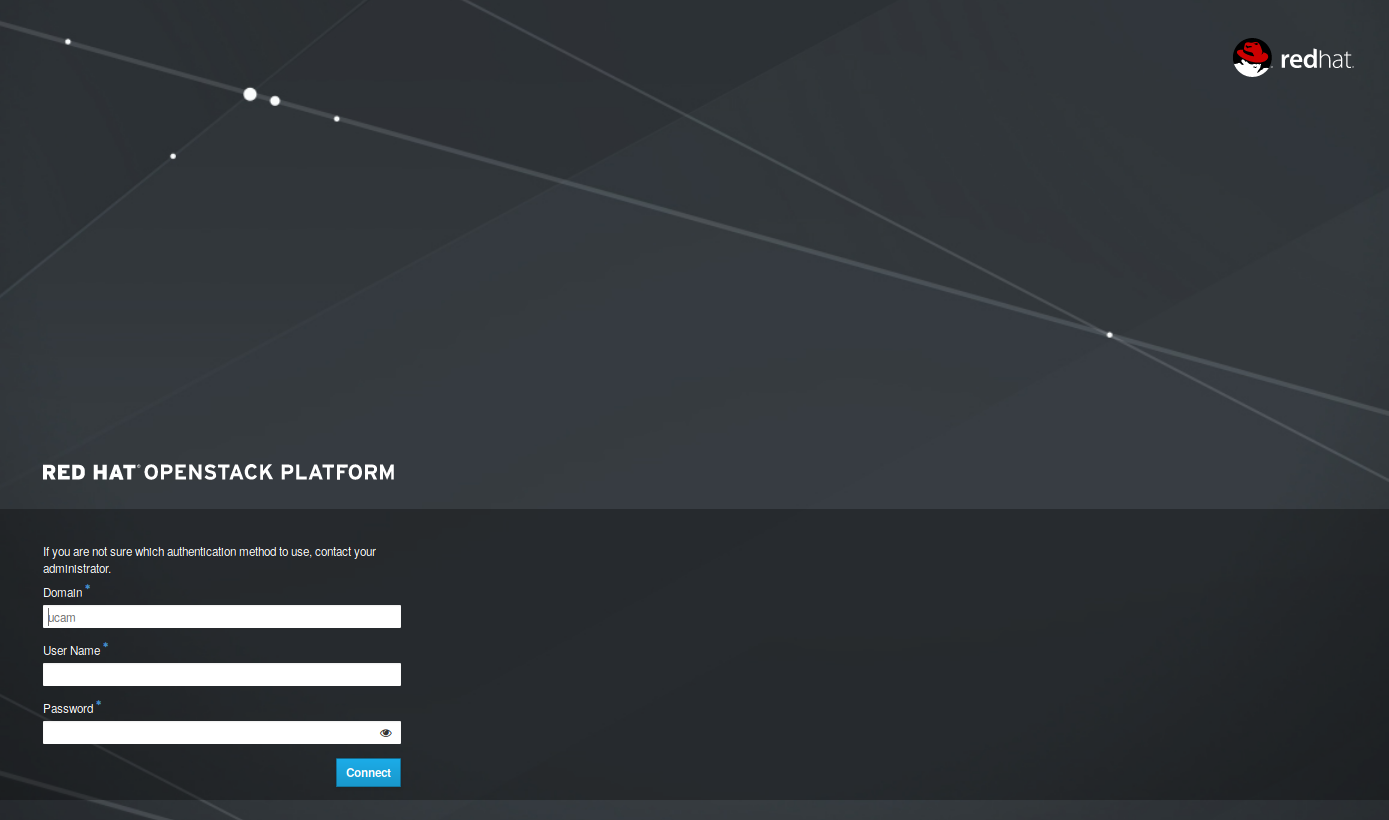
Fig. 1.4 Login page
1.3.2. List images and instances
First, click on images (compute->images). There you will see a list with all available images. These images could be public (shared with you), or private (an image you have created). You can select any image from the list and launch a new instance.
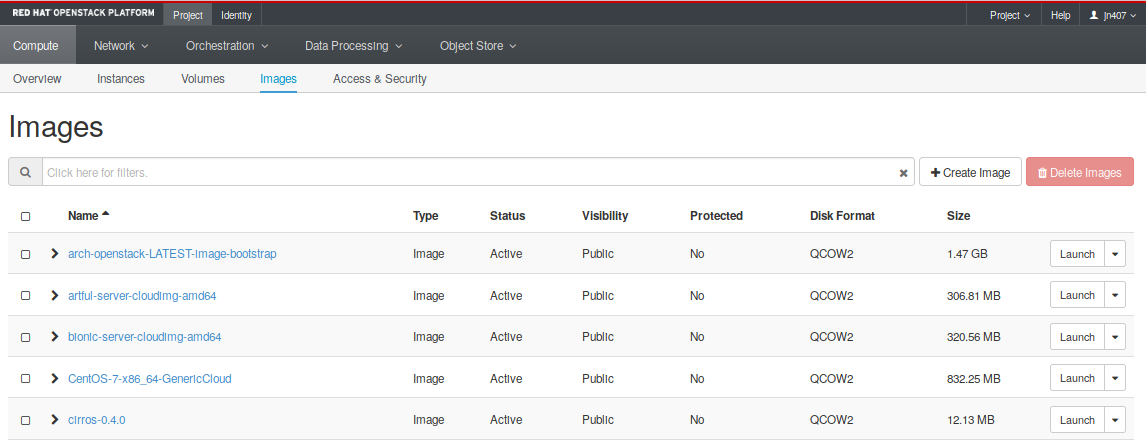
Fig. 1.5 List of available images in this project
Next, go to the Compute->Instances tab to see all running instances and their properties. There you will be able to create snapshots of these images, attach and detach floating IPs, manage attached volumes, and more. Explore all of theallowed options to get familiar with the platform.
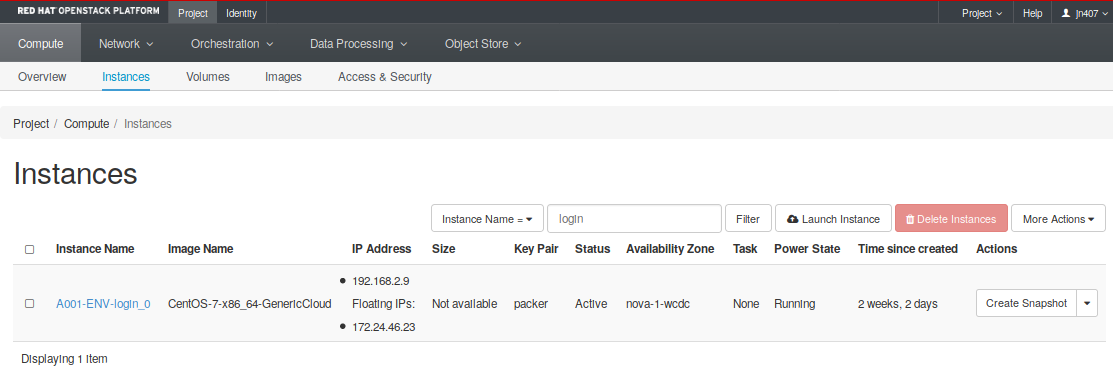
Fig. 1.6 List of running login instances
1.3.3. Configure access and security for instances
In the Access and Security tab, you will be able to manage Security Groups, create new Key Pairs for use in accessing spawned instances and manage assigned or reserved Floating IP addresses.

Fig. 1.7 List of Security Groups created on this project.
Next embedded video is Tour through more relevant Horizon options.
1.4. Lab 1 - Getting started
Go to Getting started and follow the slides to start a hands-on work over this section.
- Lab overview slides
- Hands-on work