Access via a GUI
Alternatively, RDS can be accessed via free graphical clients implementing the SSH protocol for data transfer.
We’ve compiled a list of some popular free clients:
Client |
Supported OS |
Link |
||
Mac |
Windows |
Linux |
||
FileZilla |
Yes |
Yes |
Yes |
|
WinSCP |
Yes |
|||
CyberDuck |
Yes |
Yes |
||
Note
With the introduction of MultiFactor Authentication (MFA) as a requirement for connections to CSD3, you may need to modify any existing settings to allow ‘interactive’ logins, so that you can be prompted for the required code. For more information on MFA, click here
Example Usage
Previously we used FileZilla as an example, however we’ve found this to be lacking full support for entering the MFA token/code. CyberDuck from our tests does work as expected and prompts once for the token. If you wish to keep using FileZilla, you can use the Using FileZilla steps at the bottom of this page to set it up instead, but will see more frequent prompts for a token and/or password and also slower overall performance for transferring multiple files at at time.
Using CyberDuck
Start CyberDuck, and open a connection to the RDS service by entering rds.uis.cam.ac.uk into the quickconnect box in the menu bar. Or select ‘Open Connection’ to get a wider range of options. You’ll need to fill out the following information to proceed:
Protocol: SFTP (SSH File Transfer Protocol) # Not needed when using quickconnect
Server: rds.uis.cam.ac.uk
Username: Your CRSid
Password: Your Raven password # We recommend unselecting the option to save your password
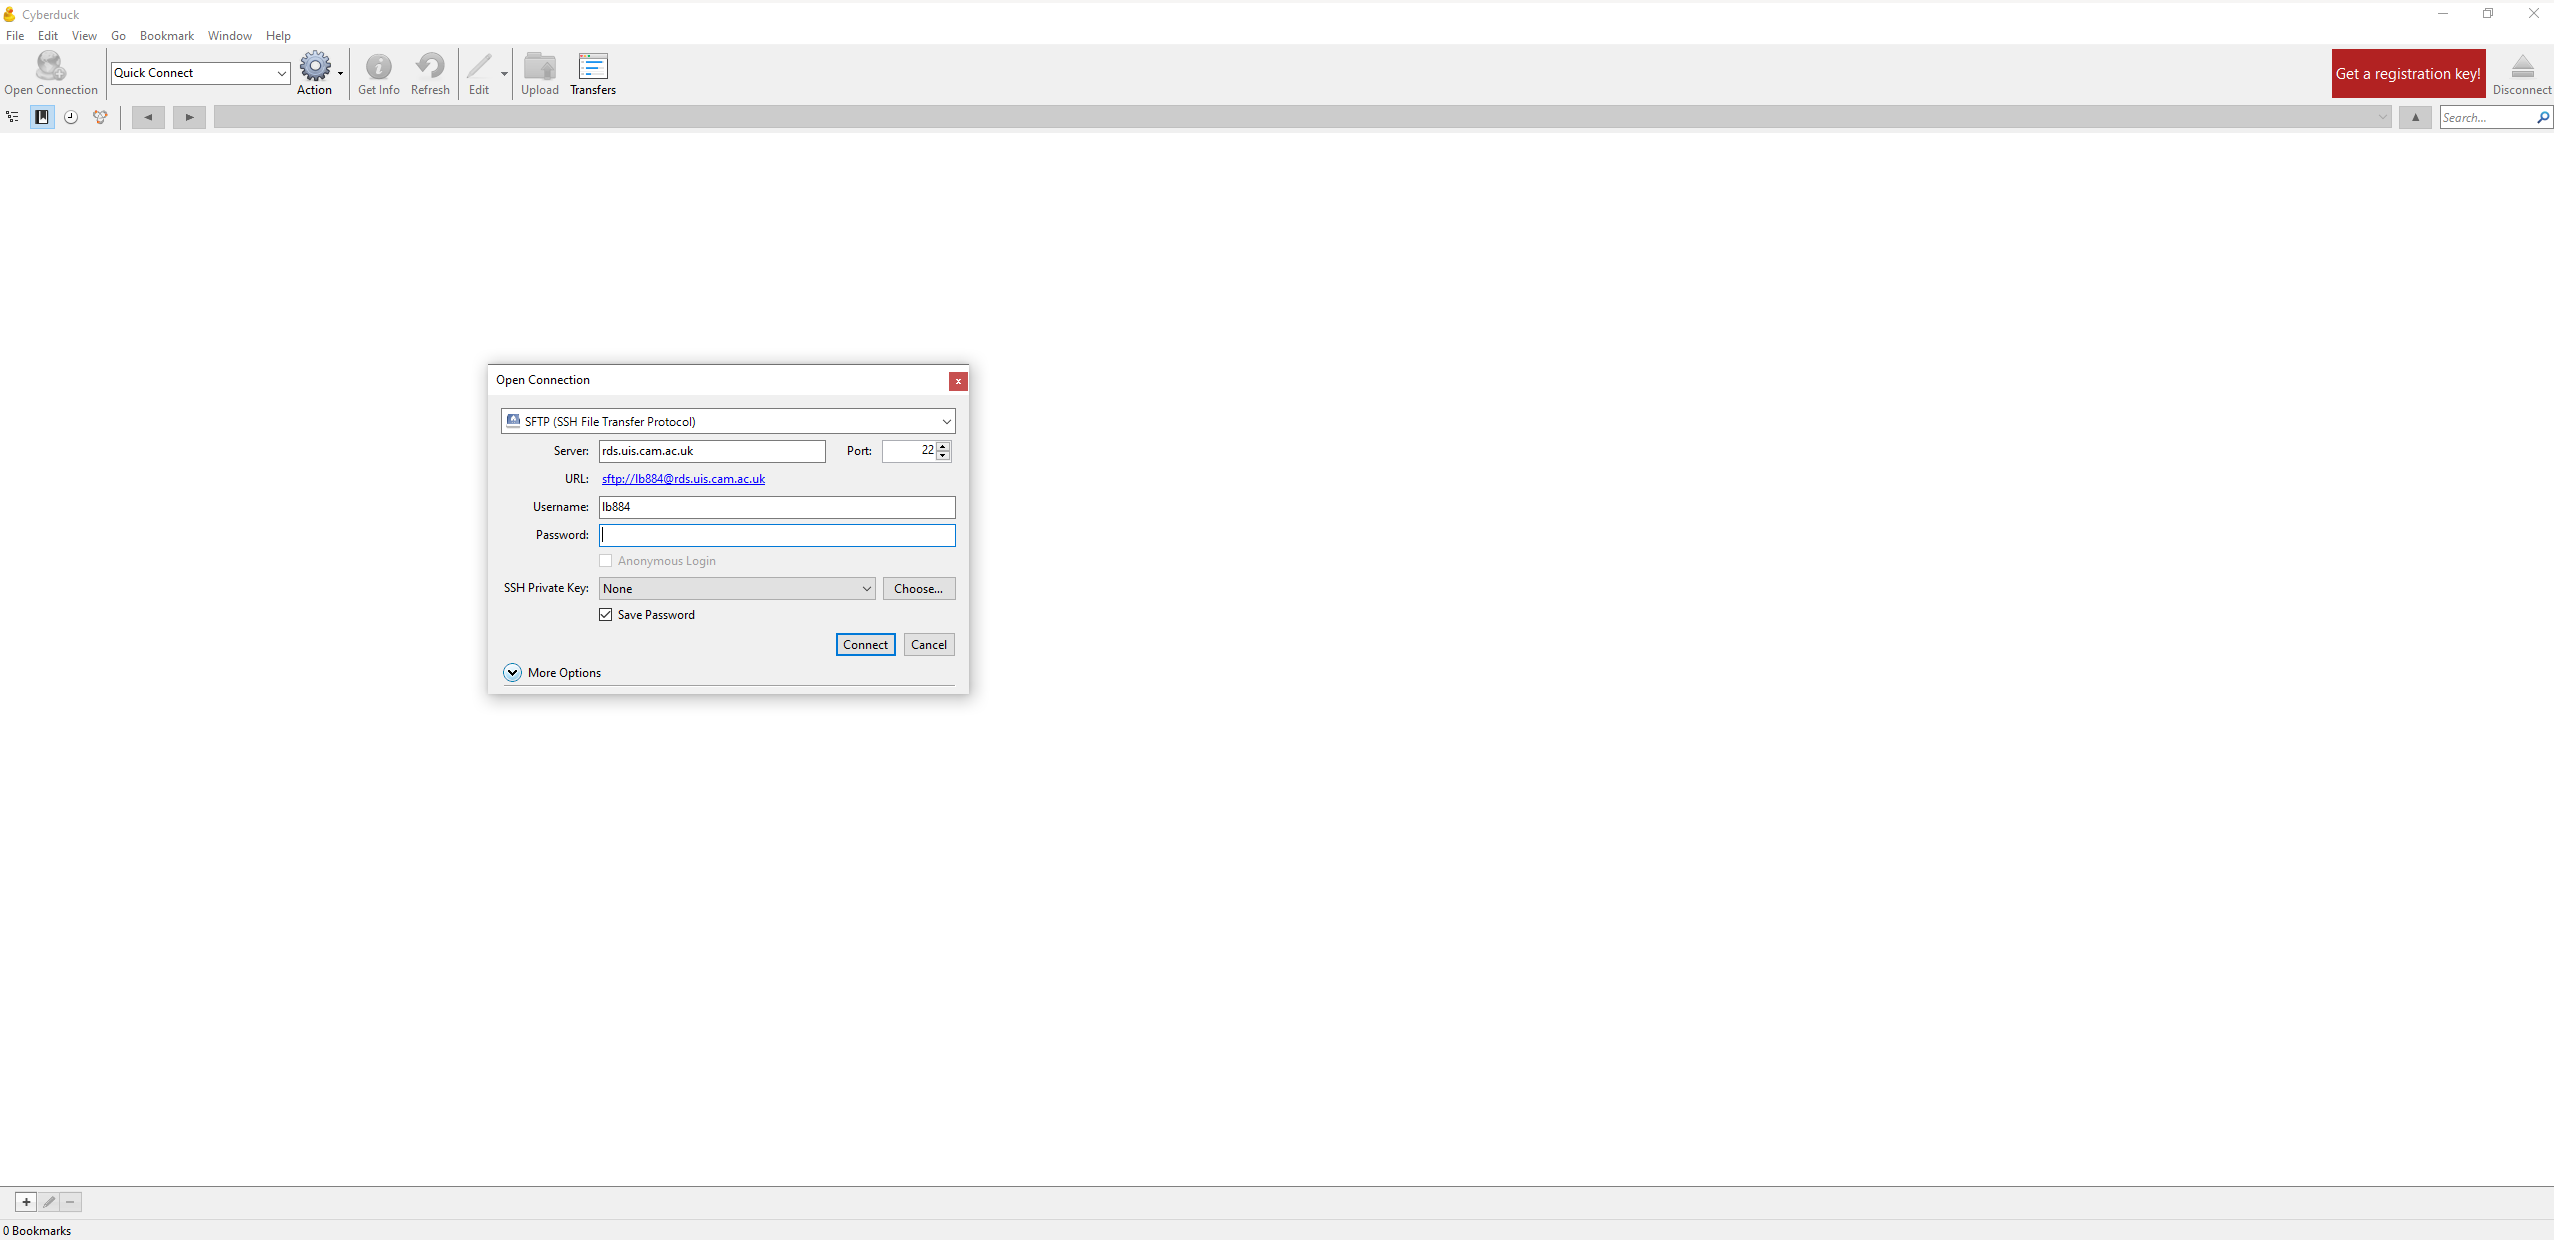
Using CyberDuck on Windows to connect.
Click the connect button, if this is the first time you have accessed RDS from this computer you will be asked to trust the host. Optionally tick always trust this host and then click Yes
You will then be prompted to enter the TOTP MFA code/token
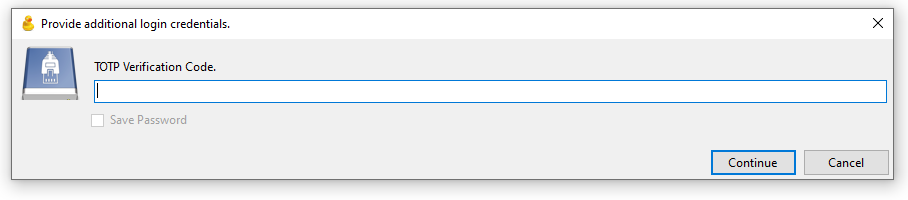
Asking for TOTP code
Using FileZilla
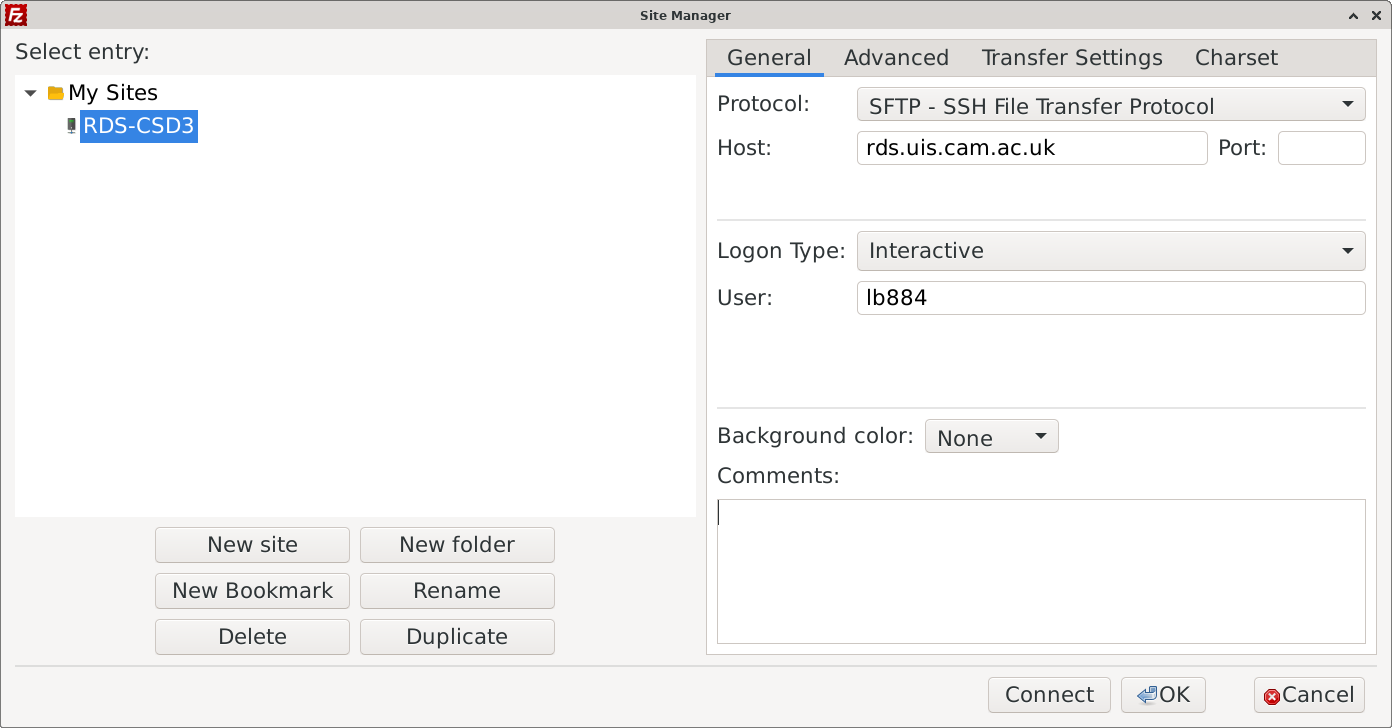
Start FileZilla, and setup a connection to the RDS service using the site-manager option under the ‘file’ menu. You’ll need to fill in the following information to proceed:
Protocol: SFTP - SSH File Transfer Protocol
Host: rds.uis.cam.ac.uk
Username: Your CRSid
Logon Type: interactive
Port: 22
Using FileZilla on Linux to connect.
At this point, you will be prompted for your password for each file copied as the Interactive Logon Type does not allow passwords to be saved. This can be mitigated by changing the Limit number of simultaneous connections option under ‘Transfer Settings’ to 1 and also changing the Timeout to 0 in the ‘Connection’ option of the main Settings page for FileZilla, under the Edit menu. These changes will try to keep your connection to the service open indefinitely, but does limit you to one file copied at a time.
Click the connect button (or select RDS from the drop down list at the top left of the menu bar). If this is the first time you have accessed RDS from this computer you will be asked to trust the host. Optionally tick always trust this host and then click Yes
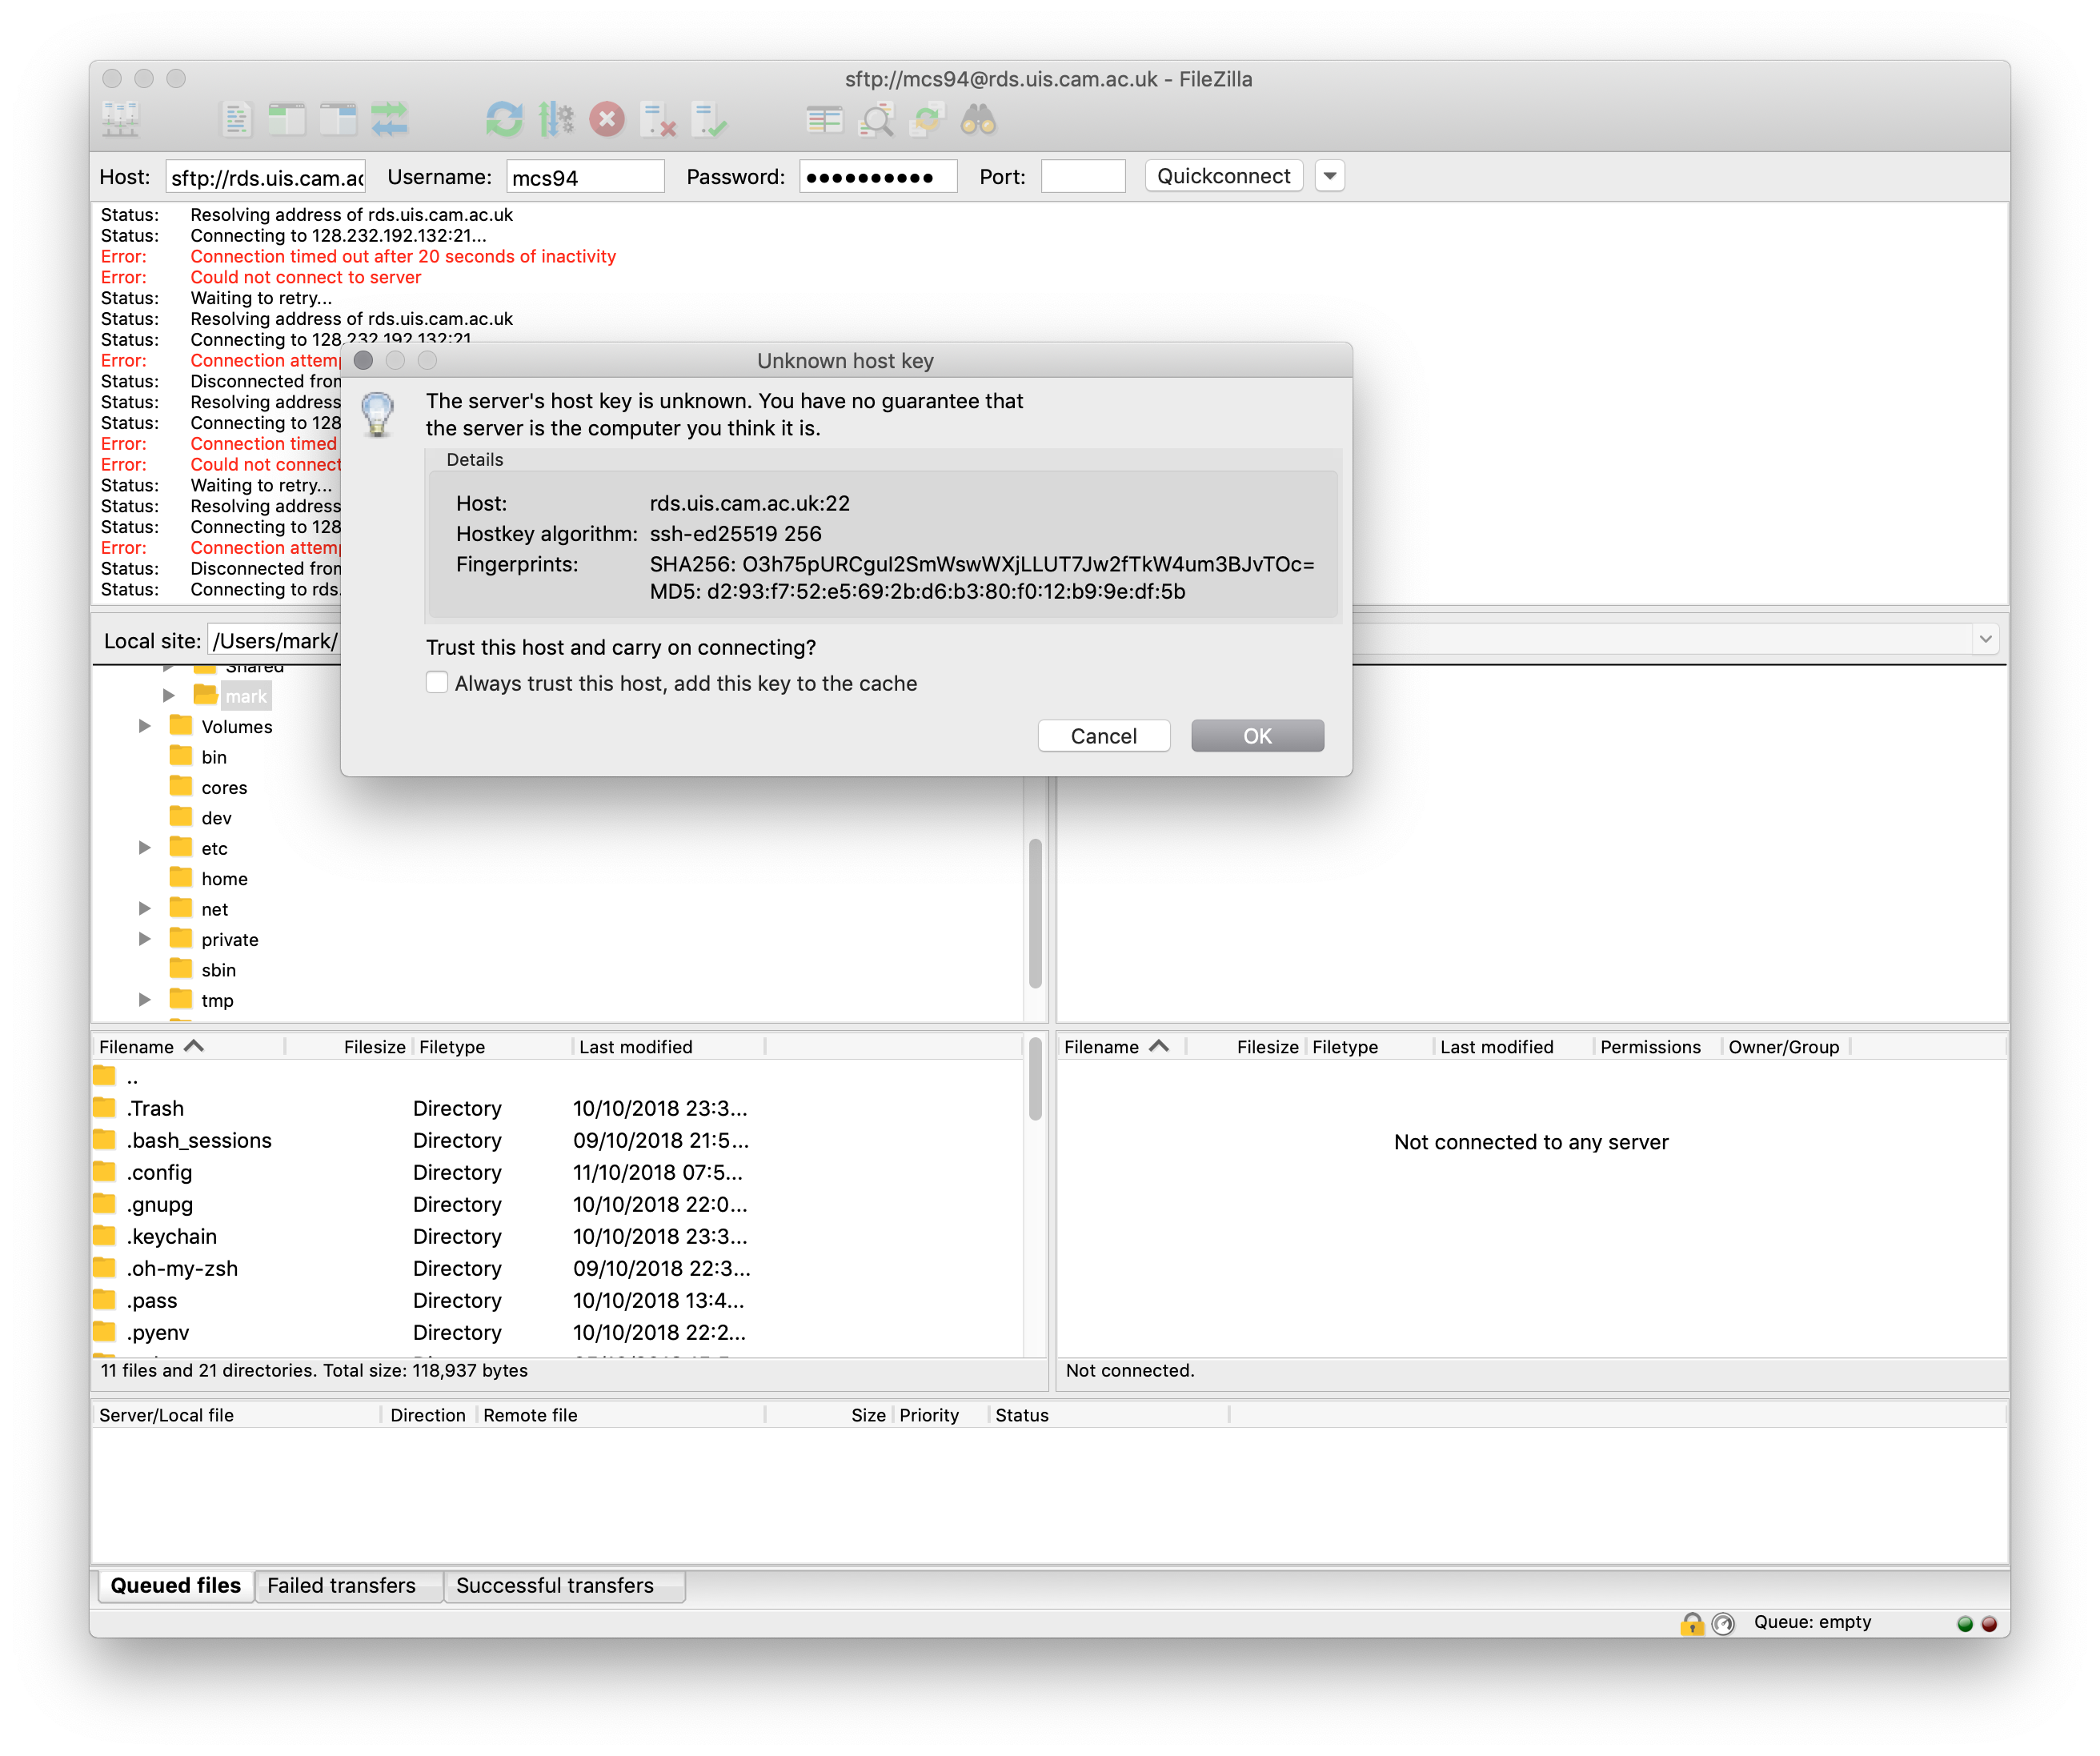
Trusting the remote host.
You will be prompted to enter your password and then the TOTP MFA code/token
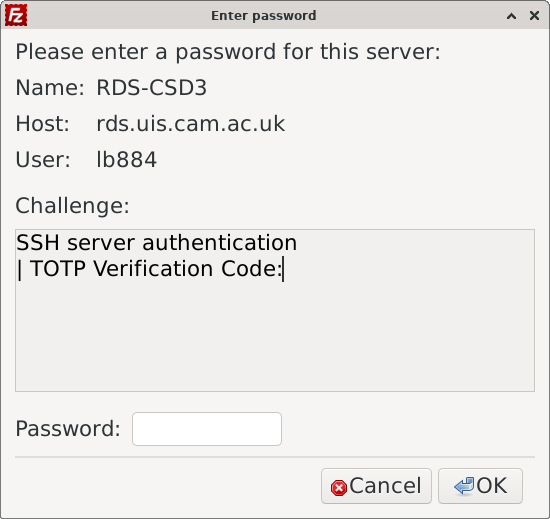
Asking for TOTP code